有非常多的人,在安装Oracle的时候会出现各种问题.
所以,整理这么个文档,方便自己查阅,也方便各位来参考安装oracle.
本文使用的操作系统为 centos 6.4 64bit 注意安装桌面环境,以免在安装Oracle时出现问题
优化步骤请参考我博客CentOS的安装步骤,查看文档后半部的优化部分.
文档还在持续优化中.
配图的文字描述还没加.
本文要安装的是 Oracle 10G
文档大部分操作步骤都摘自Oracle官网
# 官方安装文档地址
http://www.oracle.com/technetwork/cn/testcontent/database10g-087064-zhs.html
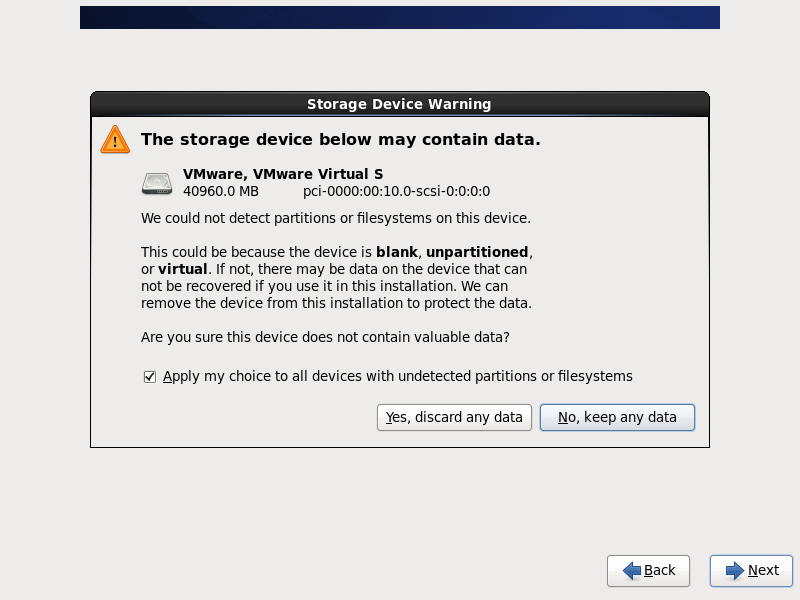
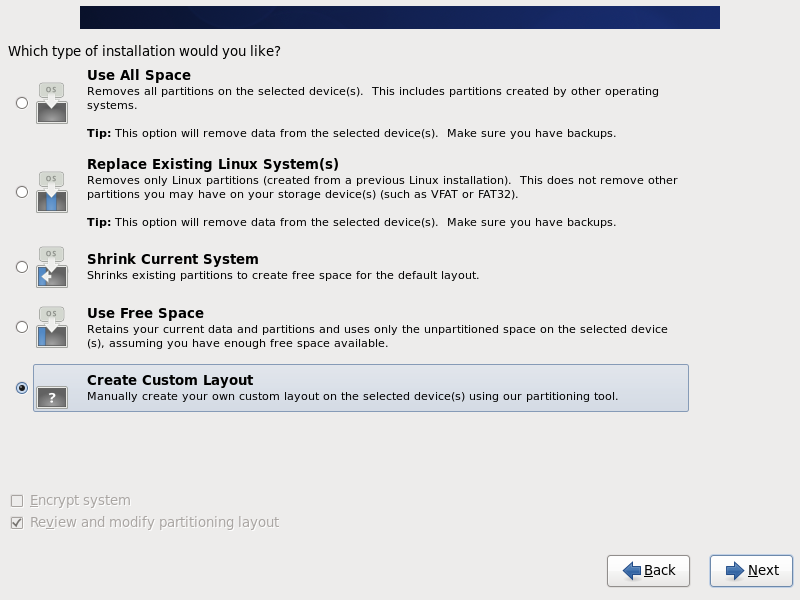
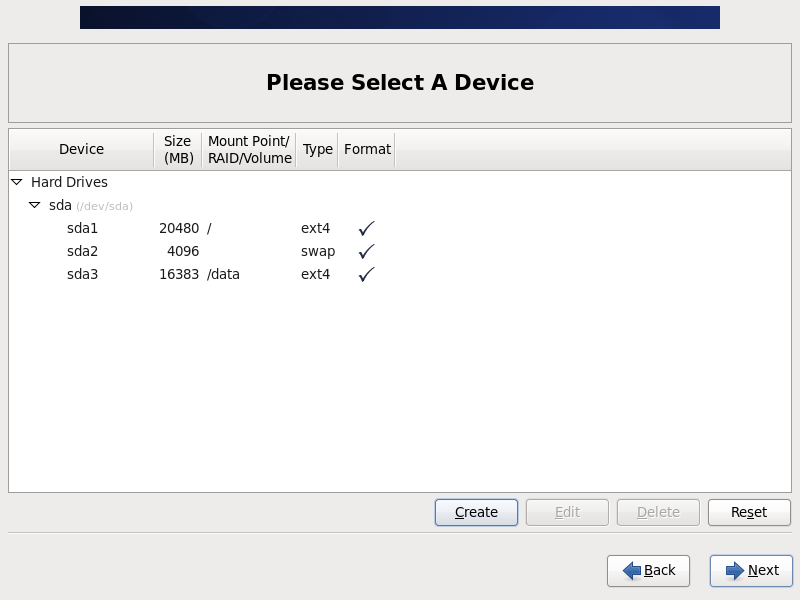
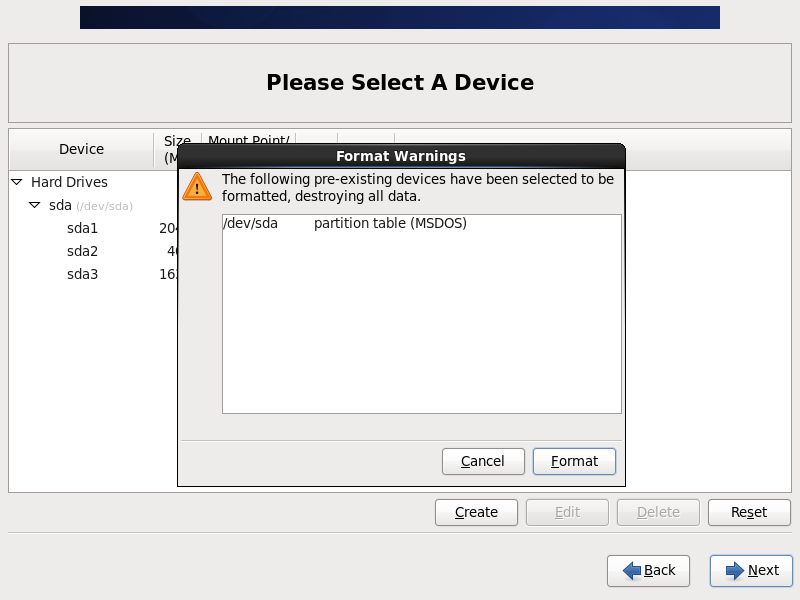
# 操作系统安装步骤
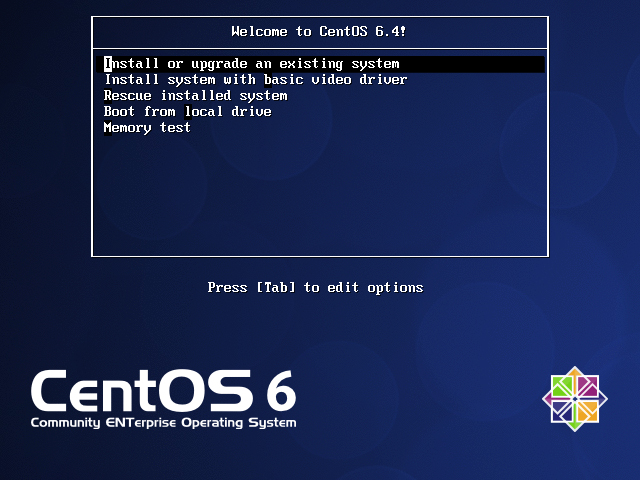
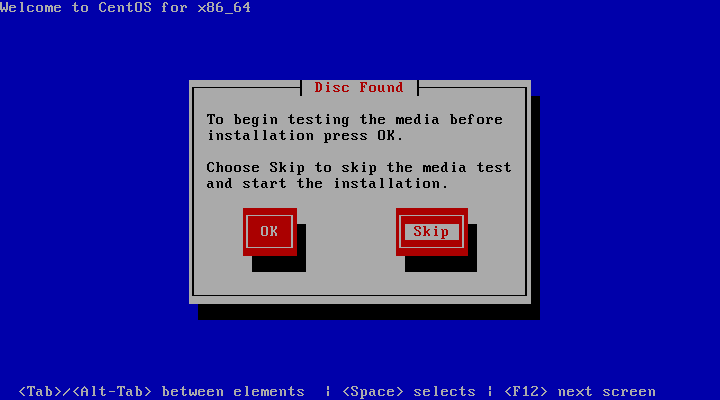

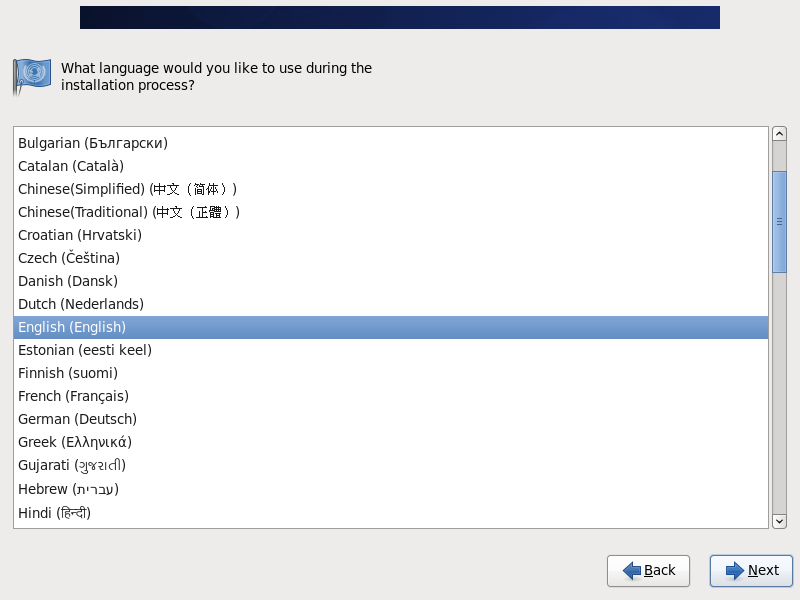

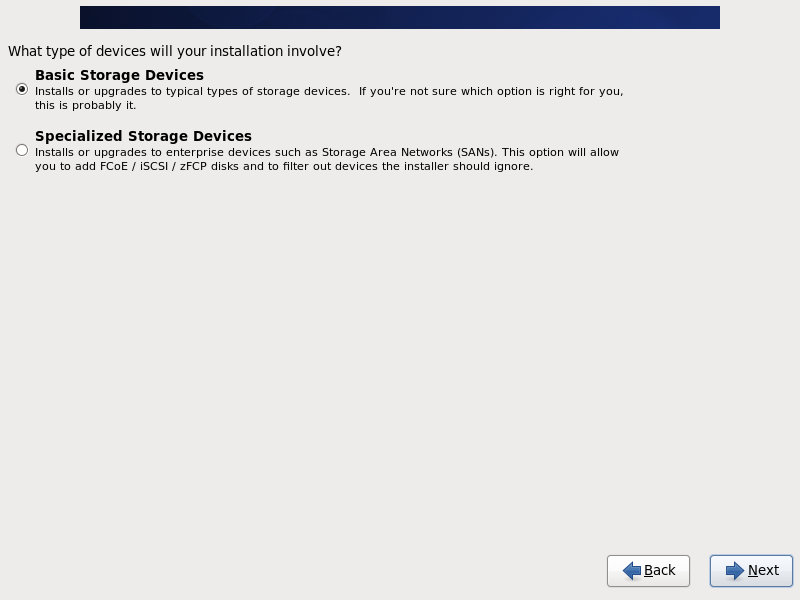


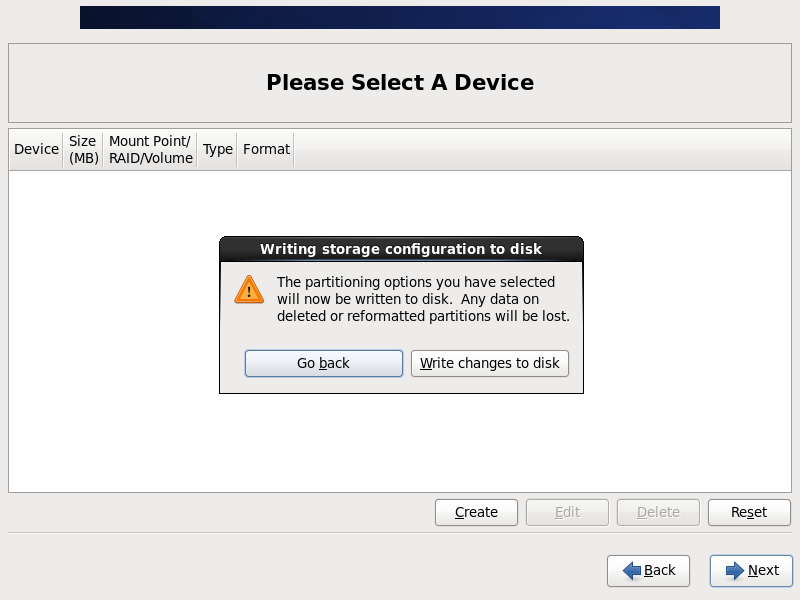
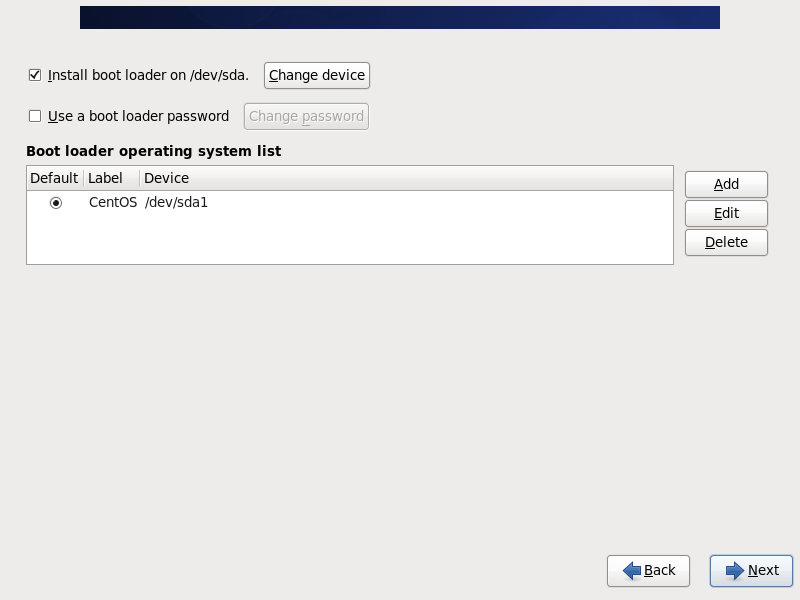
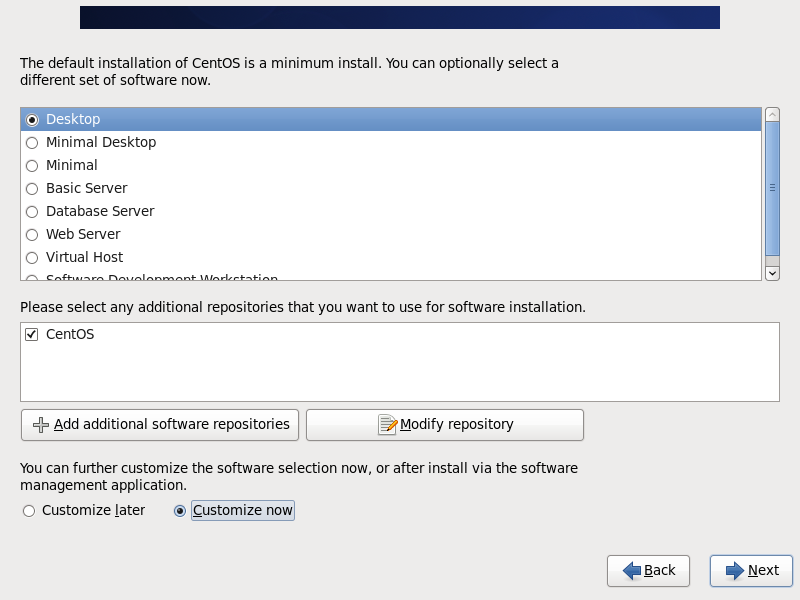


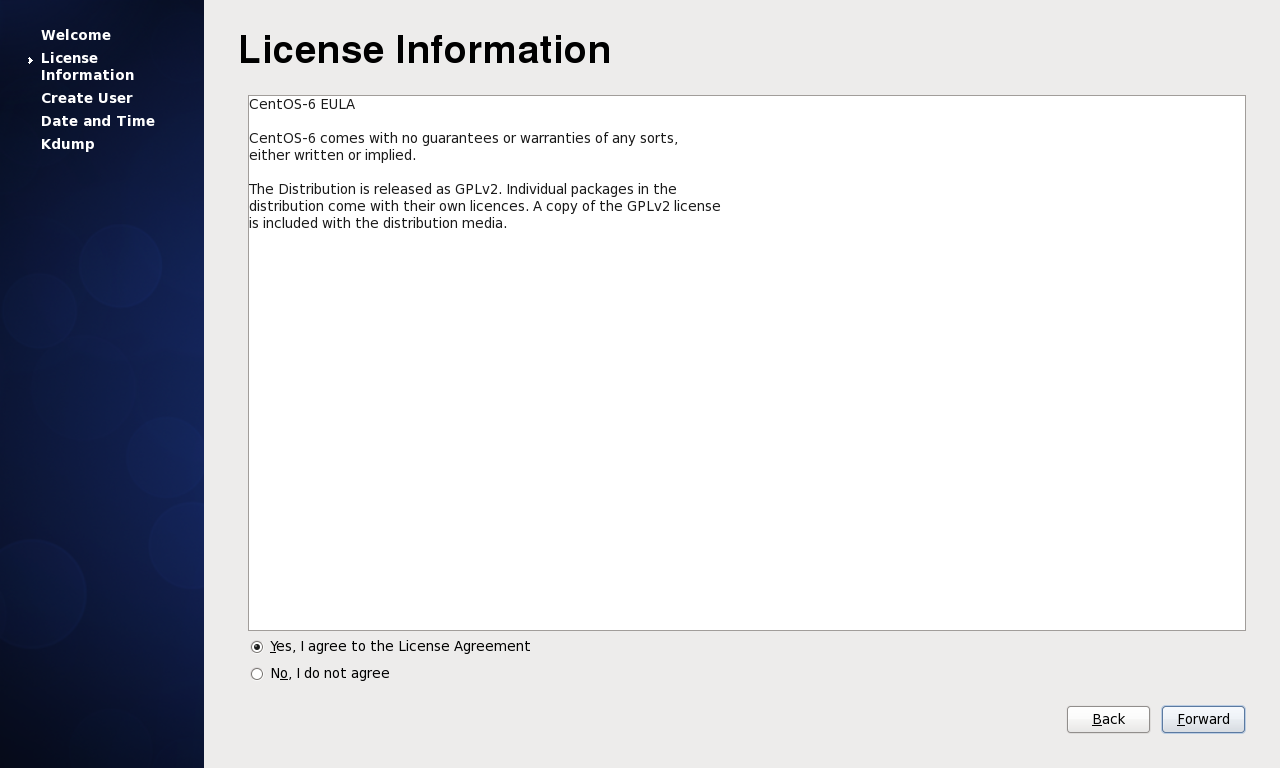
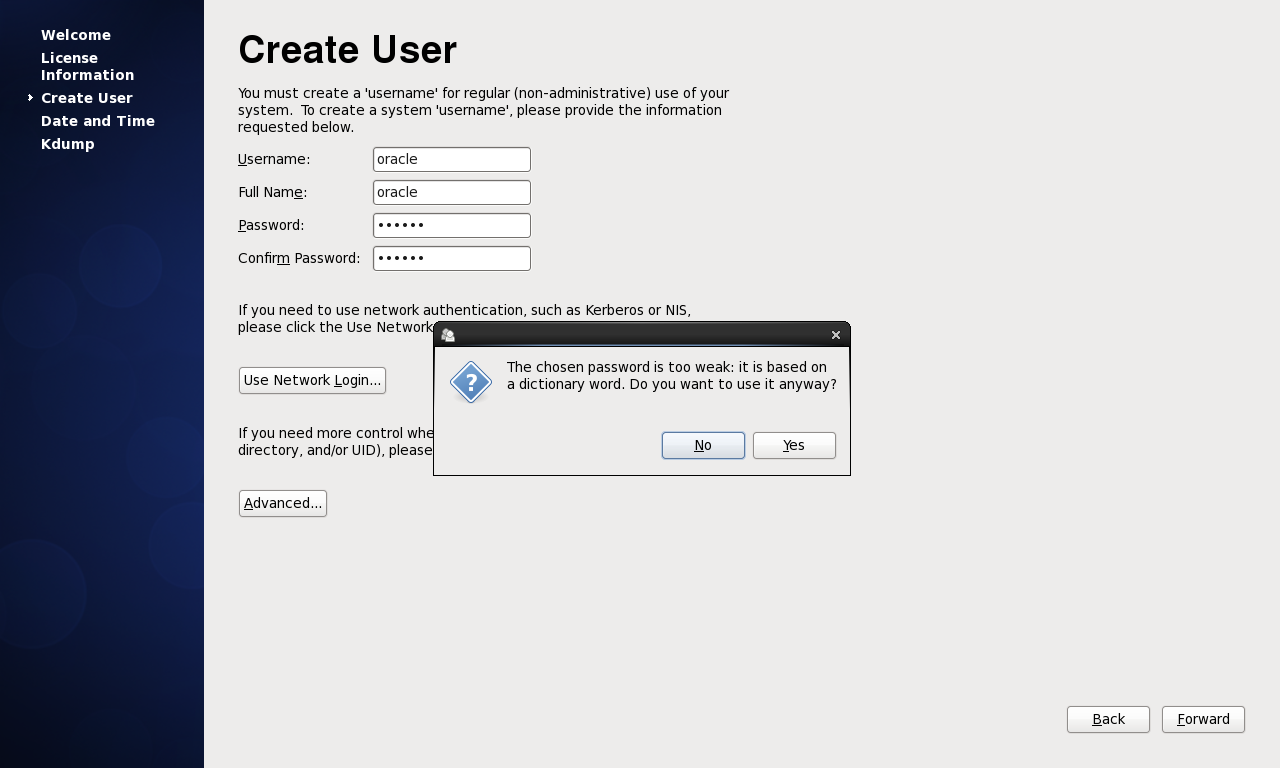
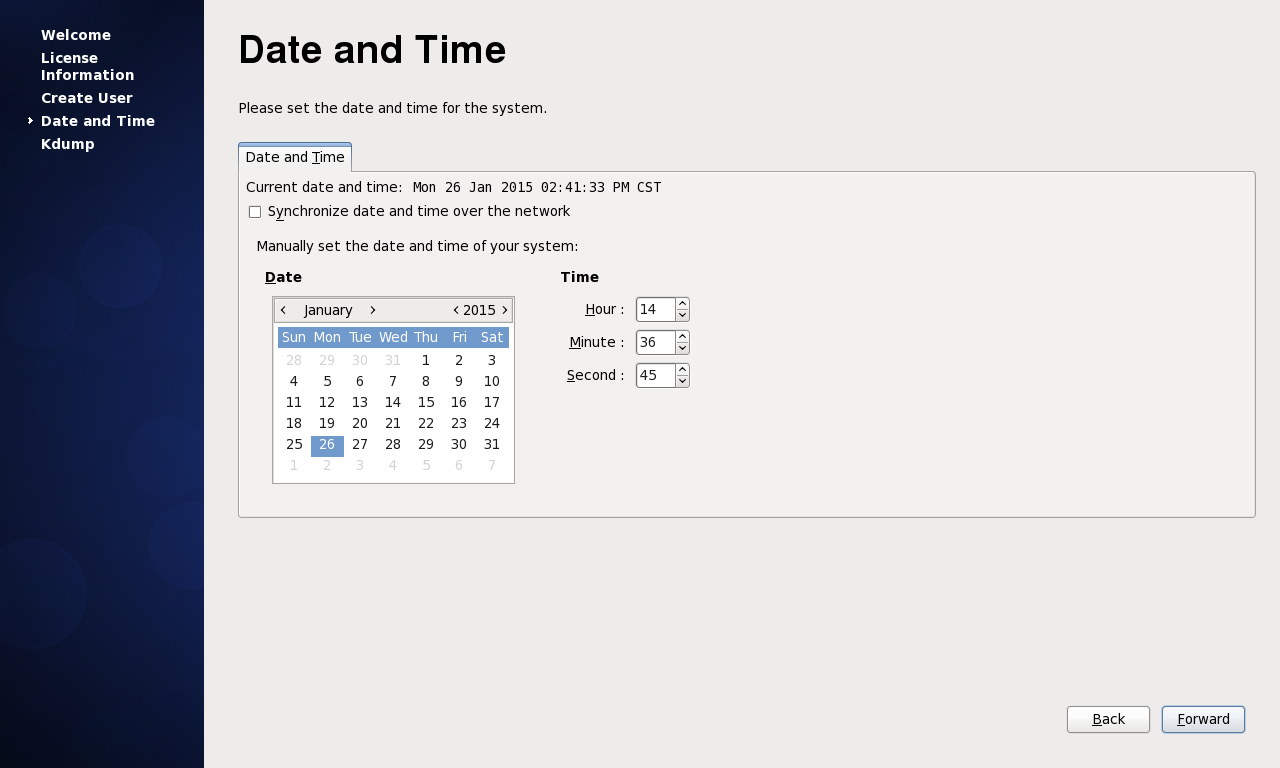
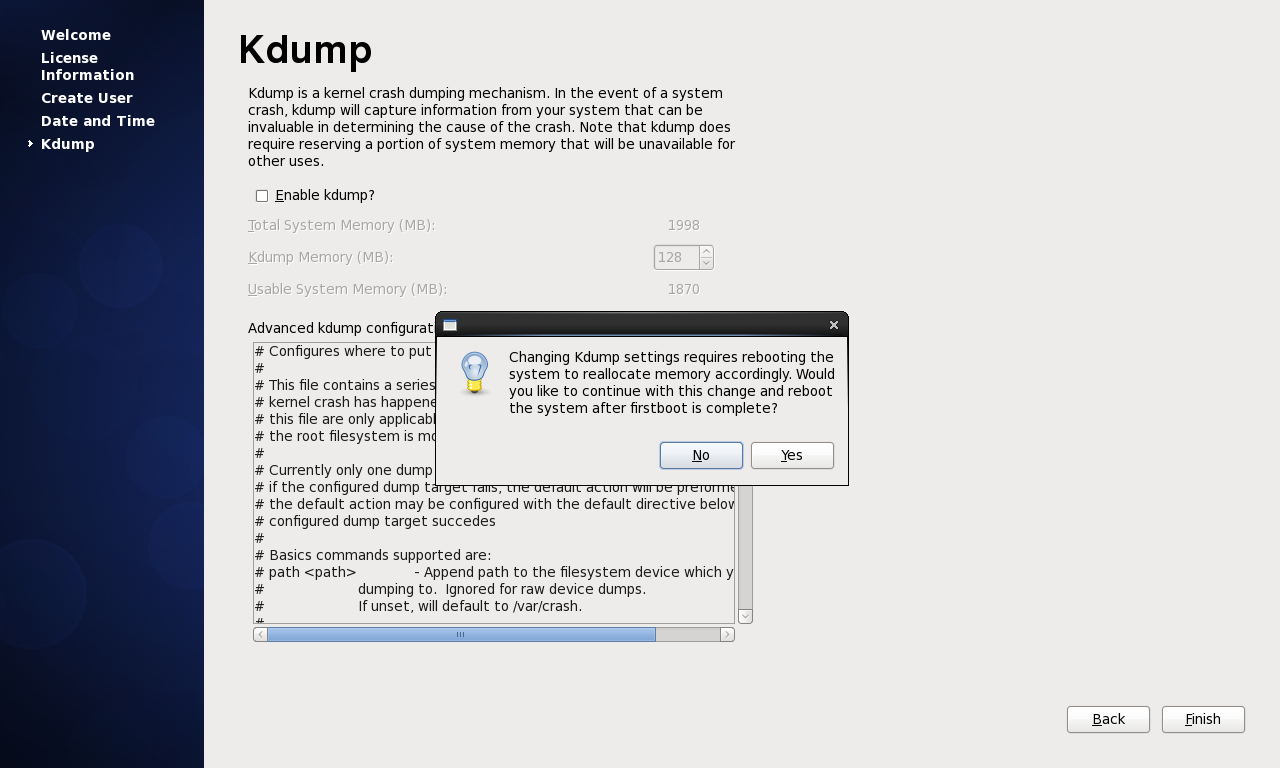
# 安装需要的包
ld-linux.so.2 compat-db compat-gcc-34 compat-gcc-34-c++ compat-libstdc++-33 kernel-devel glibc-devel glibc-static.i686 libXtst\
glibc-static.x86_64 glibc-utils ksh gd libXpm libXpm-devel libgcc numactl-devel glibc-devel glibc-devel.i686 libXpm.i686 \
libXpm-devel.i686 libgcc.i686 compat-libstdc++-33.i686 libaio-devel.i686 libstdc++-devel libstdc++
yum install -y --setopt=protected_multilib=false libXt.so.6 libXtst.so.6 libXi.so.6
# 根据实际情况来处理iptables
service iptables stop
chkconfig iptables off
# 清空策略
iptables -F
# 添加oracle需要的用户和组
groupadd dba
# 以下两条 根据实际情况来选择,如果已经建立了oracle用户,只需要调整用户组即可
# 添加oracle用户
useradd -m -g oinstall -G dba oracle
# 将oracle用户加入到 oinstall 和 dba组
usermod -m -g oinstall -G dba oracle
# 查看oracle用户id
id oracle
# 设置oracle用户密码
passwd oracle
# 建立程序文件夹和数据文件夹
mkdir -p /data/oradata
chown -R oracle:oinstall /data/oracle /data/oradata/
chmod -R 775 /data/oracle /data/oradata/
# 修改内核参数
echo "kernel.shmmni = 4096" >>/etc/sysctl.conf
echo "kernel.sem = 250 32000 100 128" >>/etc/sysctl.conf
echo "fs.file-max = 65536" >>/etc/sysctl.conf
echo "net.ipv4.ip_local_port_range = 1024 65000" >>/etc/sysctl.conf
echo "net.core.rmem_default=262144" >>/etc/sysctl.conf
echo "net.core.wmem_default=262144" >>/etc/sysctl.conf
echo "net.core.rmem_max=262144" >>/etc/sysctl.conf
echo "net.core.wmem_max=262144" >>/etc/sysctl.conf
echo "vm.hugetlb_shm_group = 502" >>/etc/sysctl.conf
/sbin/sysctl -p
# 如果oracle报错
ORA-27125
# 处理方法如下
0
id ora10g
uid=54323(ora10g) gid=54321(oinstall) groups=54321(oinstall),54322(dba)
vi /etc/sysctl.conf
# 加入如下的内容,其中54322为dba组号,需要根据你实际的情况进行改变。
vm.hugetlb_shm_group = 54322
sysctl -p
# 修改ulimits
echo "oracle soft nproc 2047" >>/etc/security/limits.conf
echo "oracle hard nproc 16384" >>/etc/security/limits.conf
echo "oracle soft nofile 1024" >>/etc/security/limits.conf
echo "oracle hard nofile 65536" >>/etc/security/limits.conf
# 修改/etc/pam.d/login
echo 'session required /lib/security/pam_limits.so' >> /etc/pam.d/login
echo 'session required pam_limits.so' >> /etc/pam.d/login
# 修改系统标识
echo "redhat-4" > /etc/redhat-release
# 准备开始安装oracle10g
# 切换到oracle用户
# 添加环境变量
# Add Oracle10G Opt
export ORACLE_BASE=/data/oracle
export ORACLE_HOME=$ORACLE_BASE/product/10.2
export ORACLE_SID=billing
export PATH=$PATH:$HOME/bin:$ORACLE_HOME/bin
export LD_LIBRARY_PATH=$ORACLE_HOME/lib:/usr/lib
export NLS_LANG="AMERICAN_AMERICA.ZHS16GBK"
# 解压oracle安装文件
cpio -idmv < 10201_database_linux_x86_64.cpio
# 修改hosts
192.168.24.140 test
# 启动安装程序
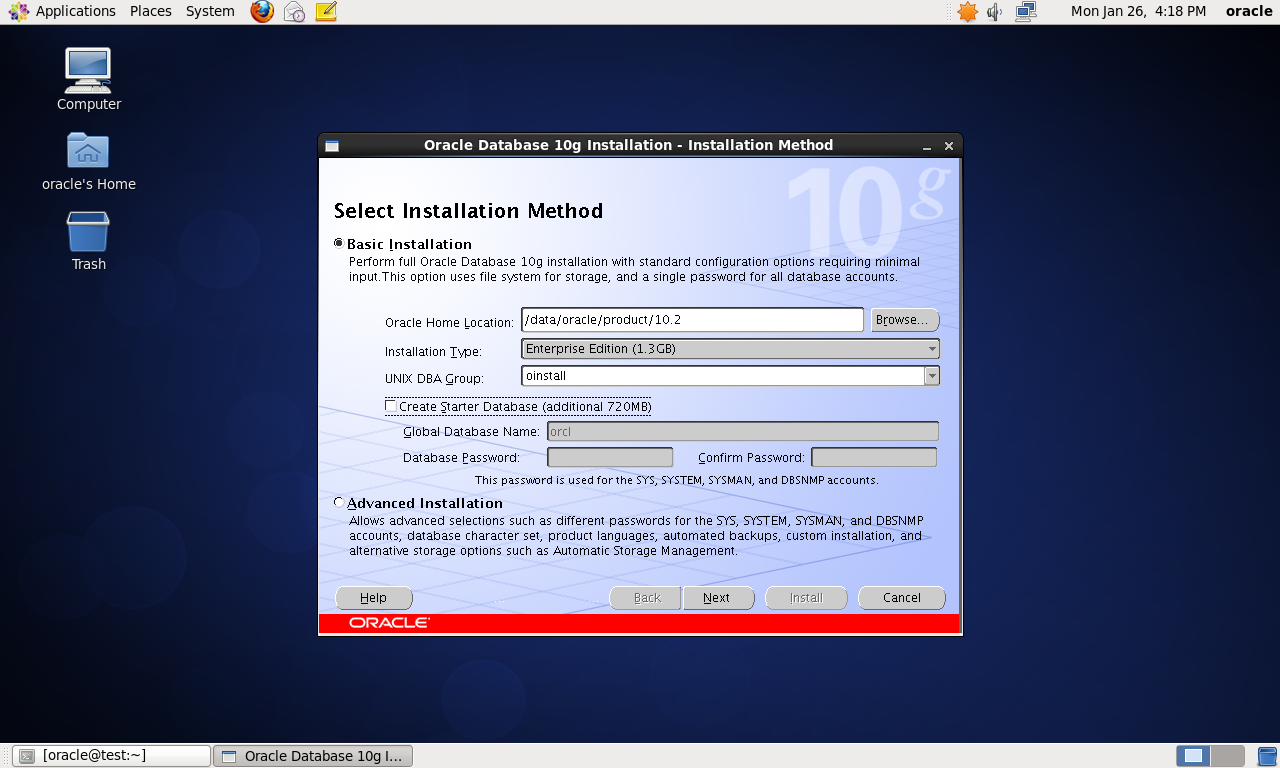
# oracle安装步骤
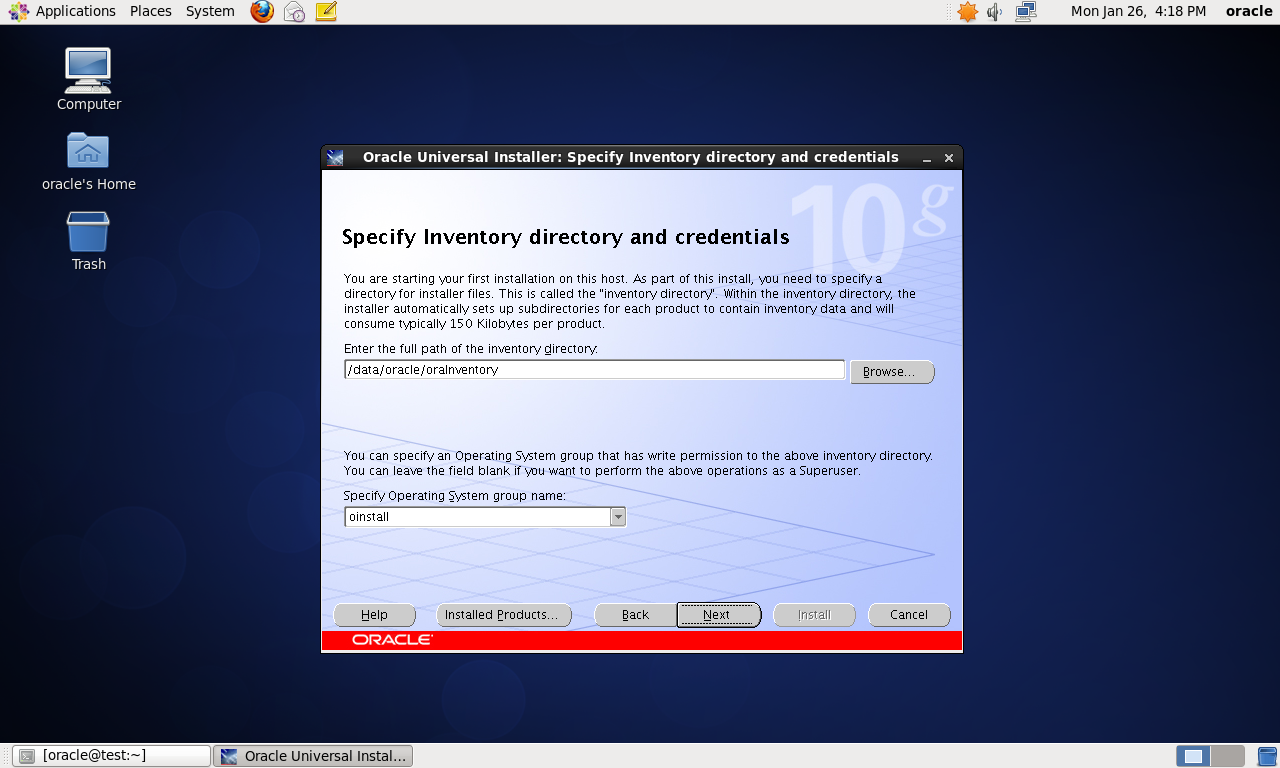
# 安装Oracle的时候 不建立初始数据库
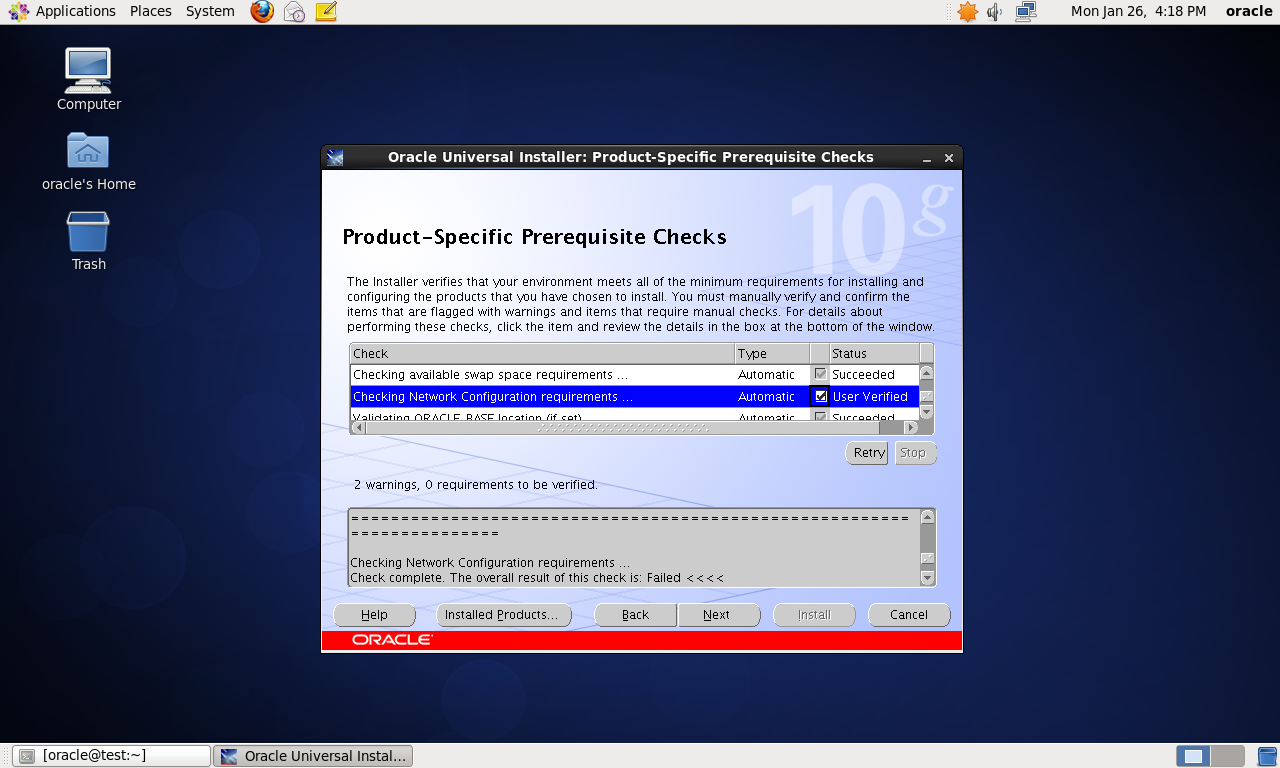
# 注意检查网络配置文件状态
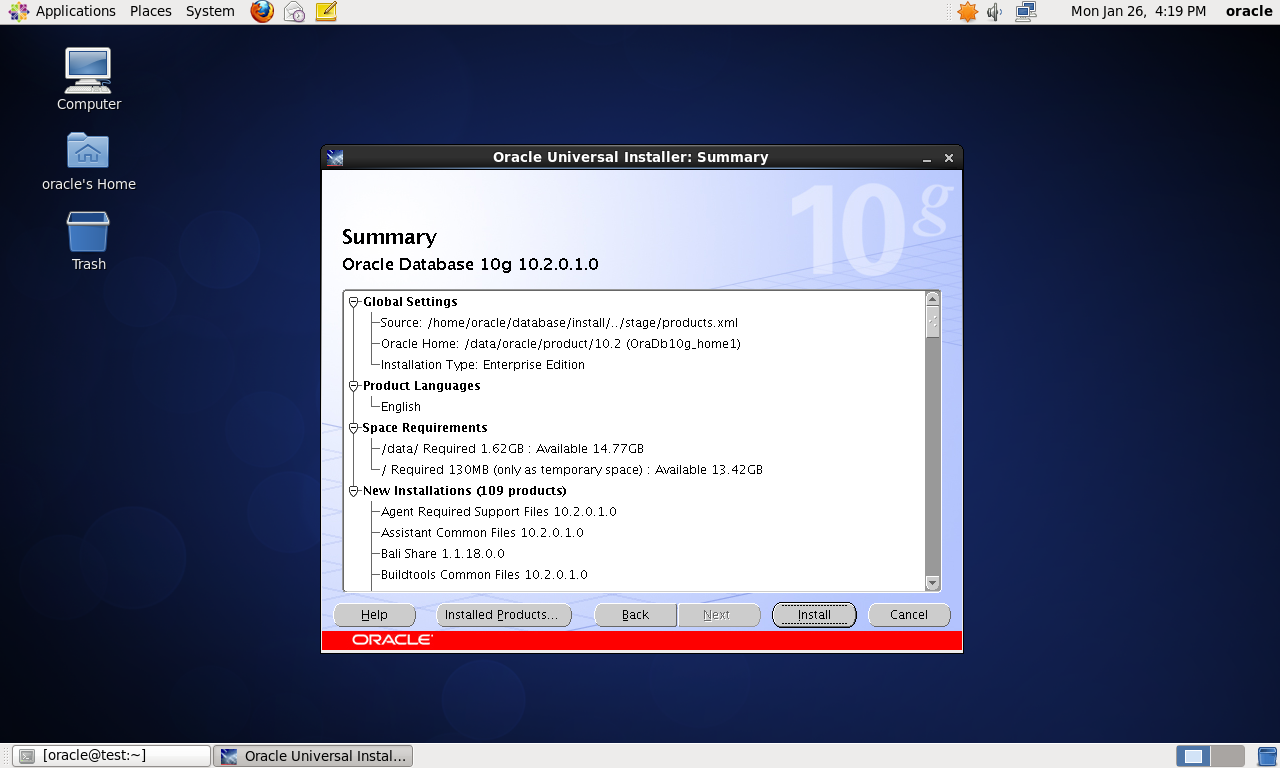
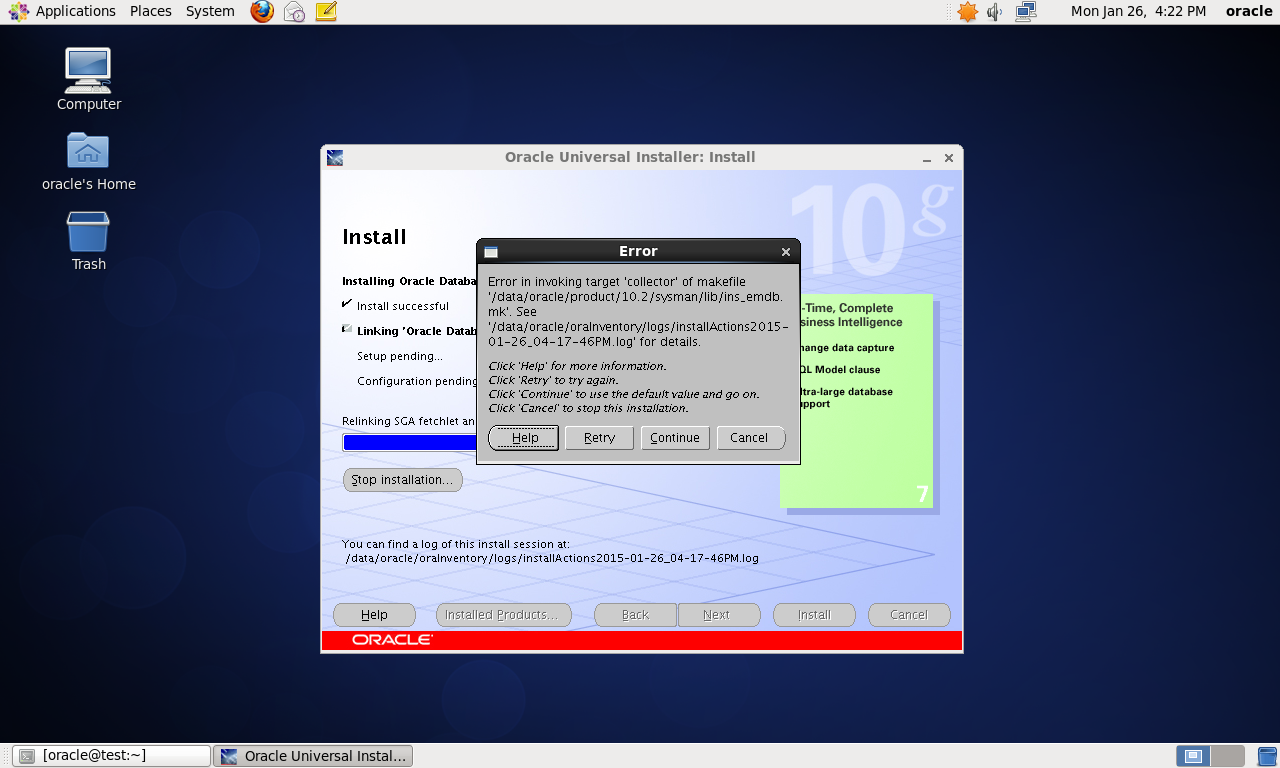
# oracle安装过程报ins_emdb.mk错误,此时继续点击“continue”即可,待Oracle完成安装后,再手工执行相应脚本完成链接即可
# 使用root来执行这两条命令
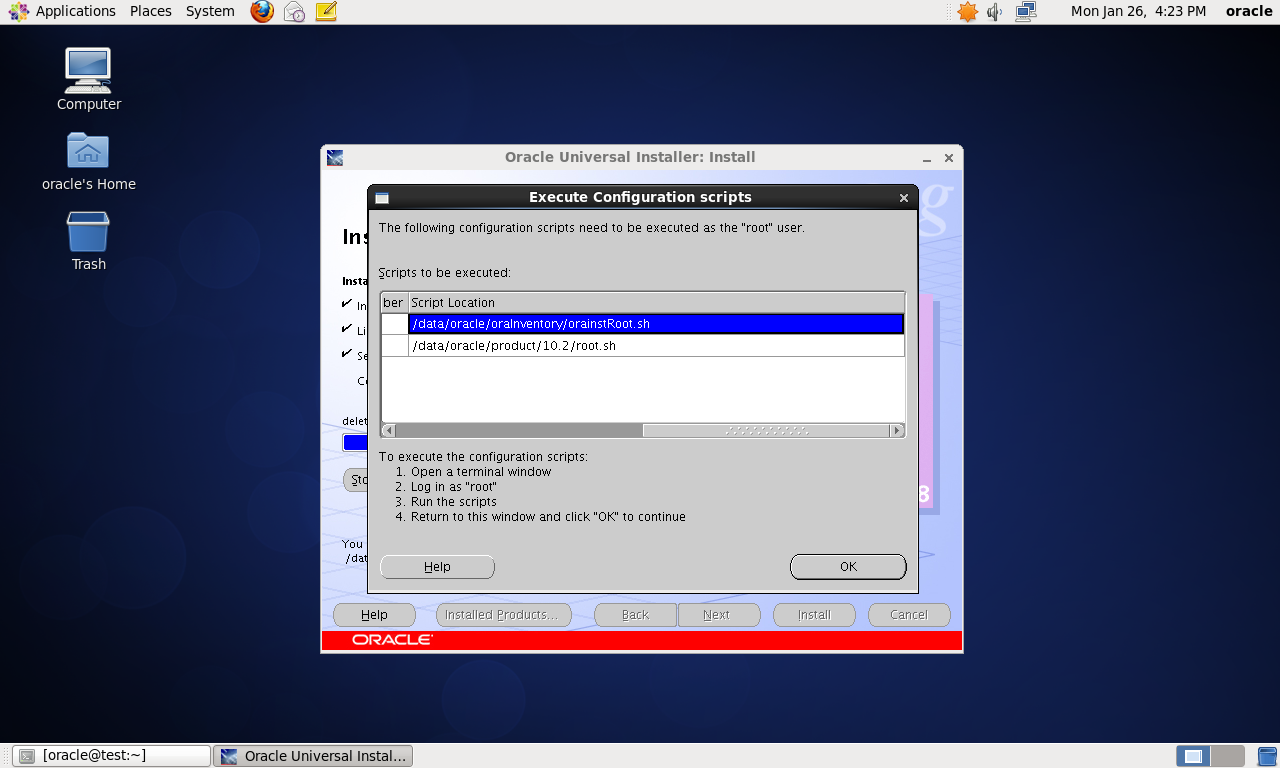
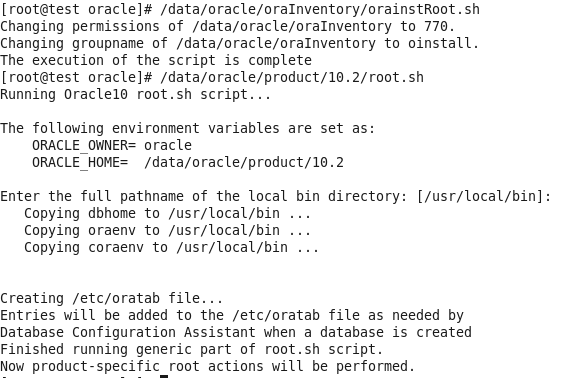
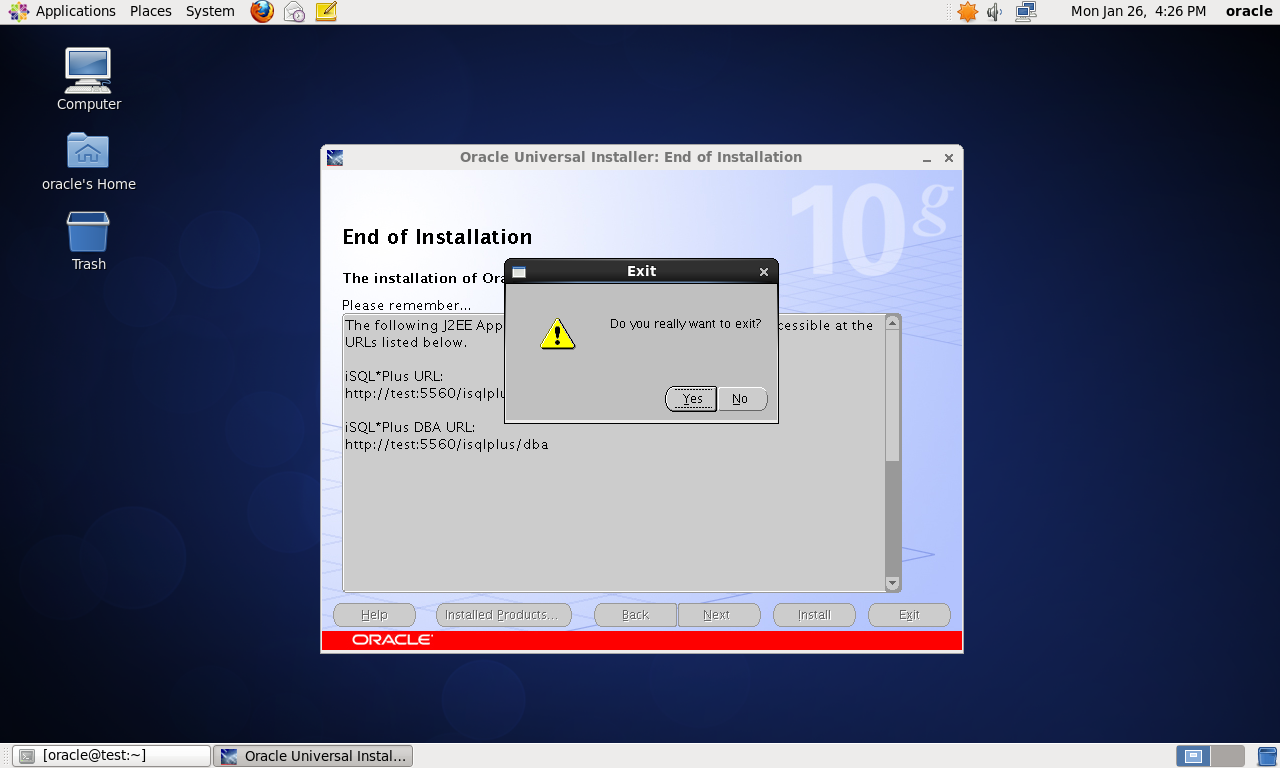
# oracle安装过程报ins_emdb.mk错误,此时继续点击“continue”即可,待Oracle完成安装后,再手工执行相应脚本完成链接即可
# 安装之后 操作
# dbca 命令建立数据库步骤
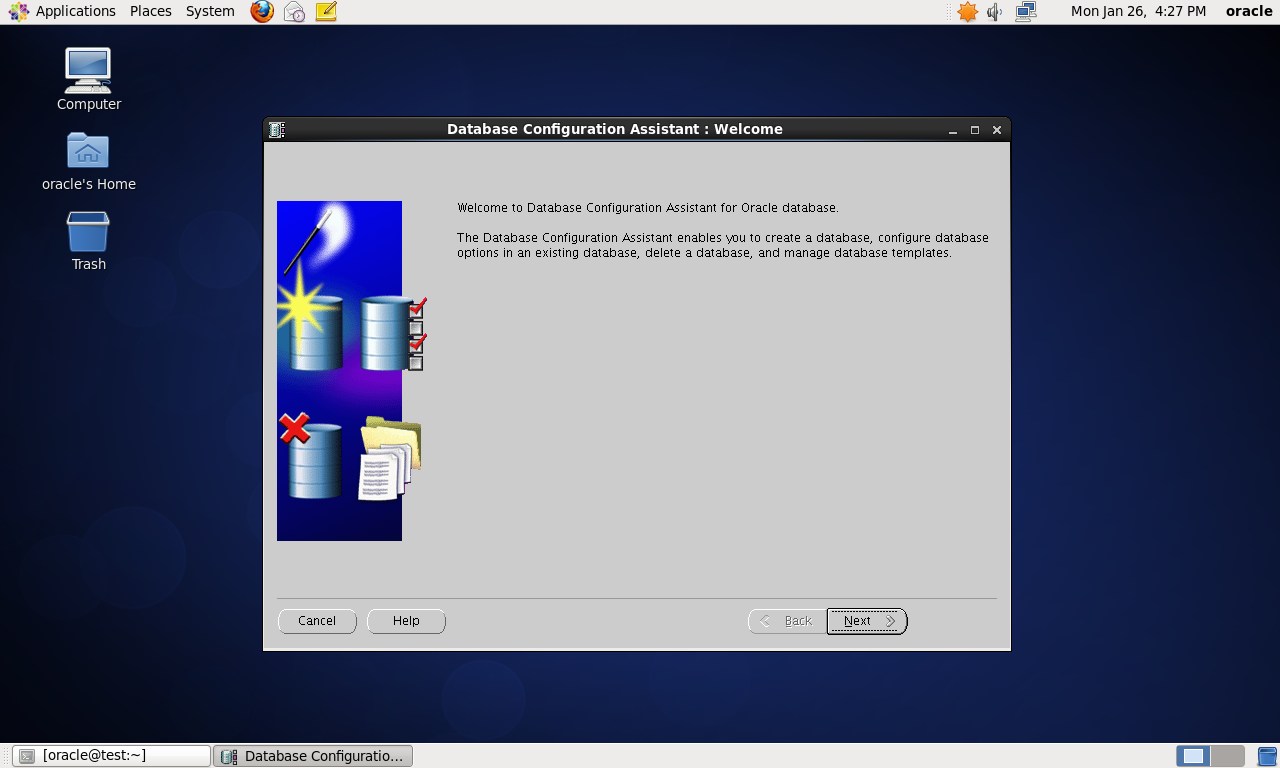
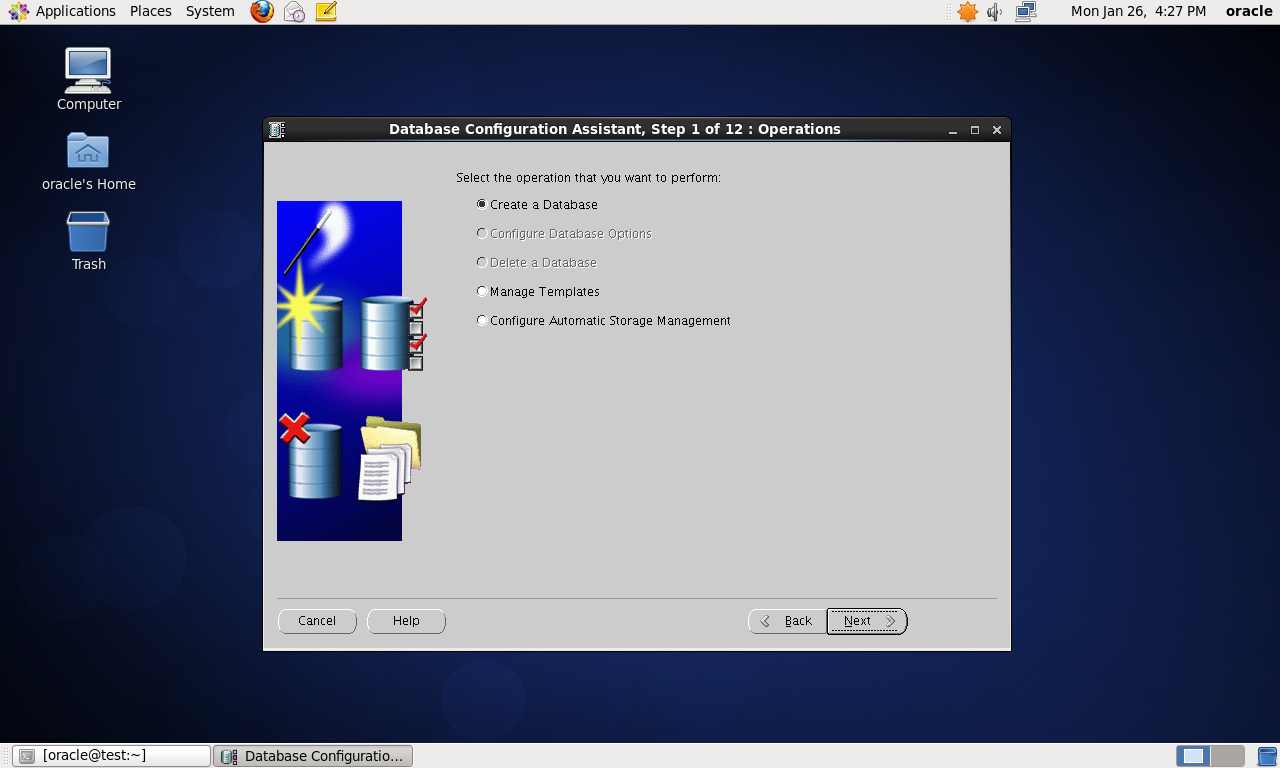
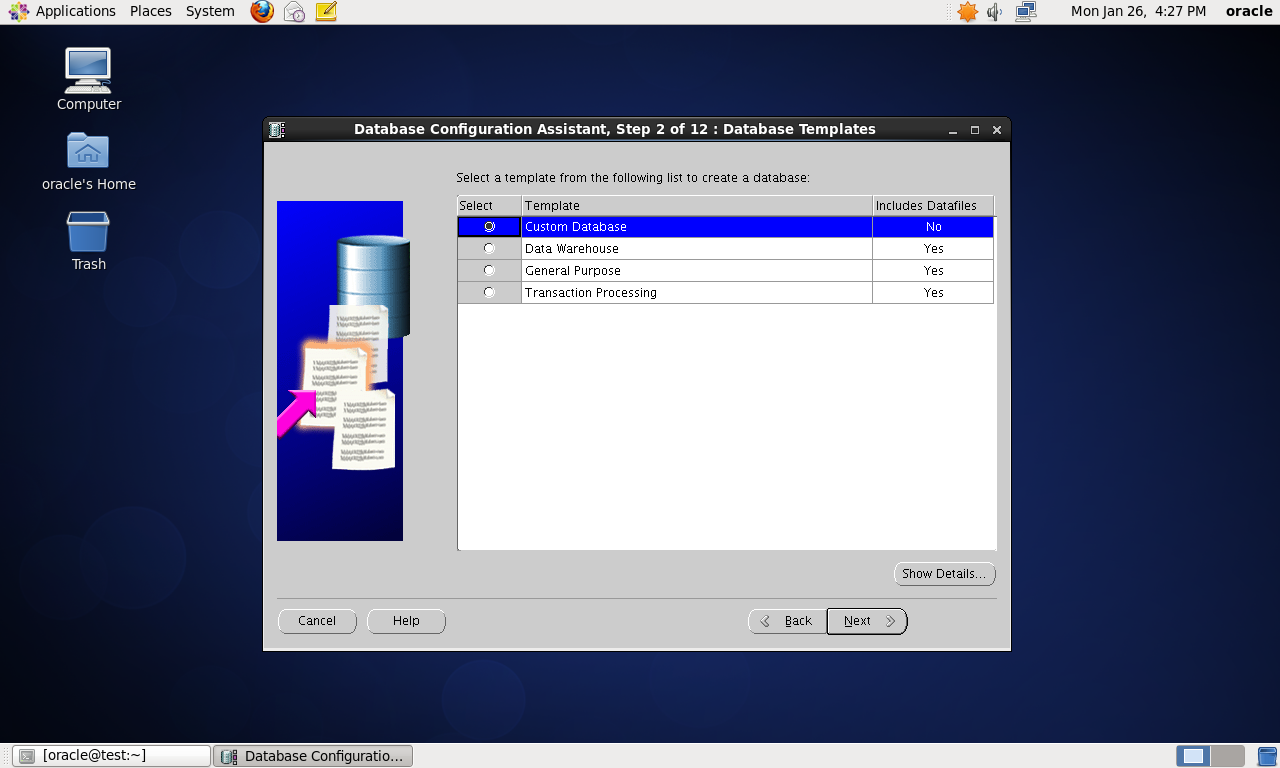
# 注意数据库名字和sid
# sid要和 .bash_profile的ORACLE_SID一致
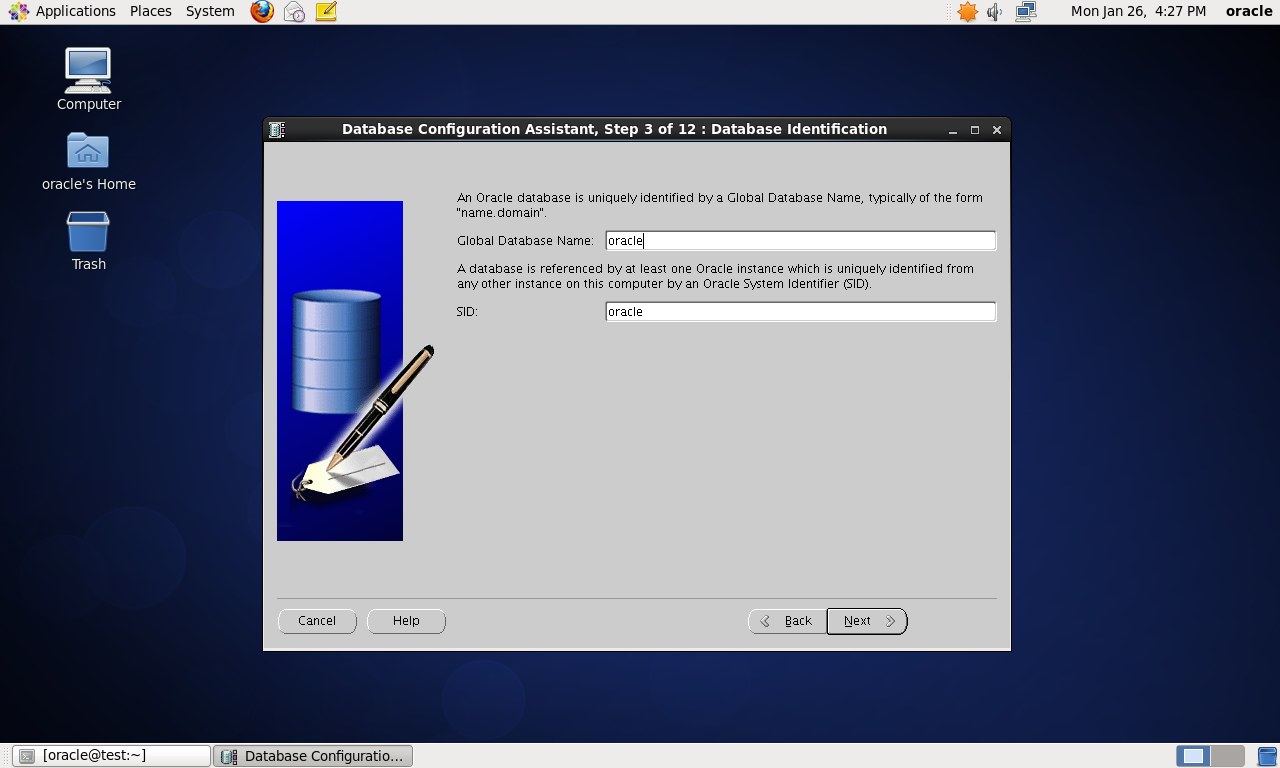
# 取消web管理功能
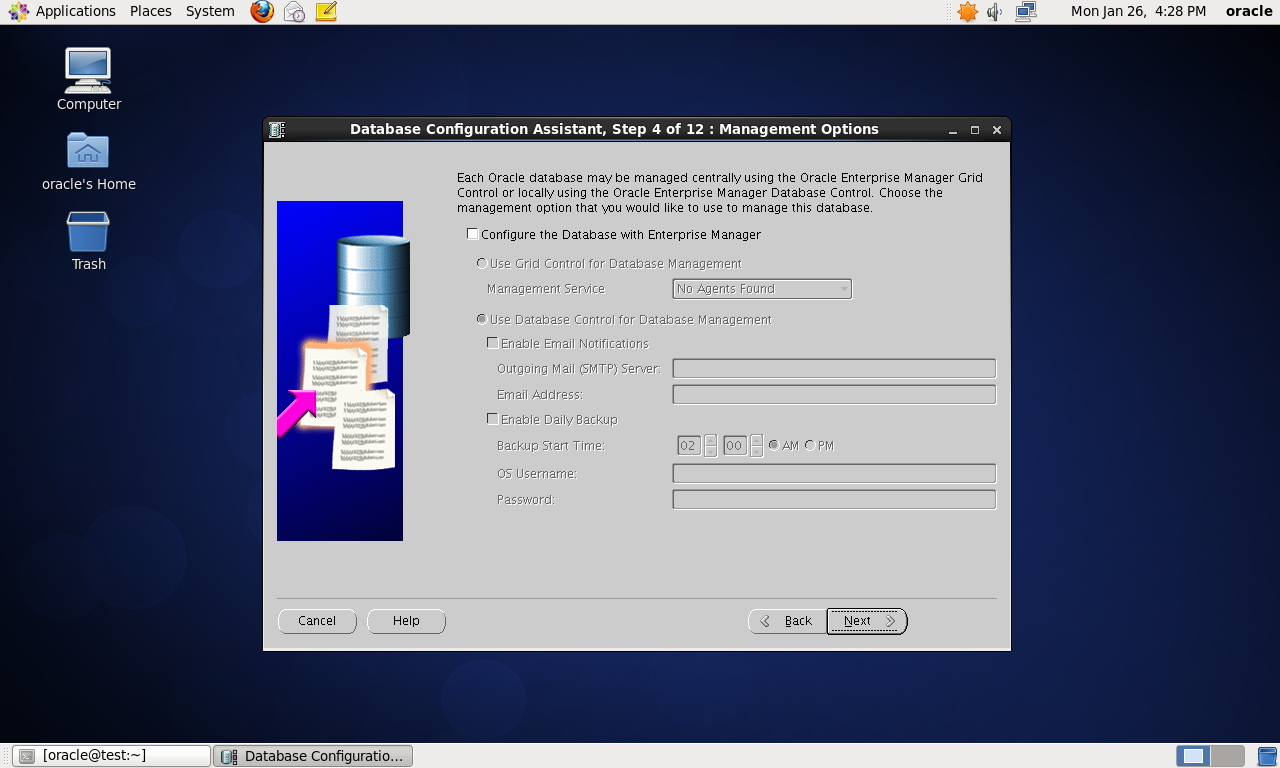
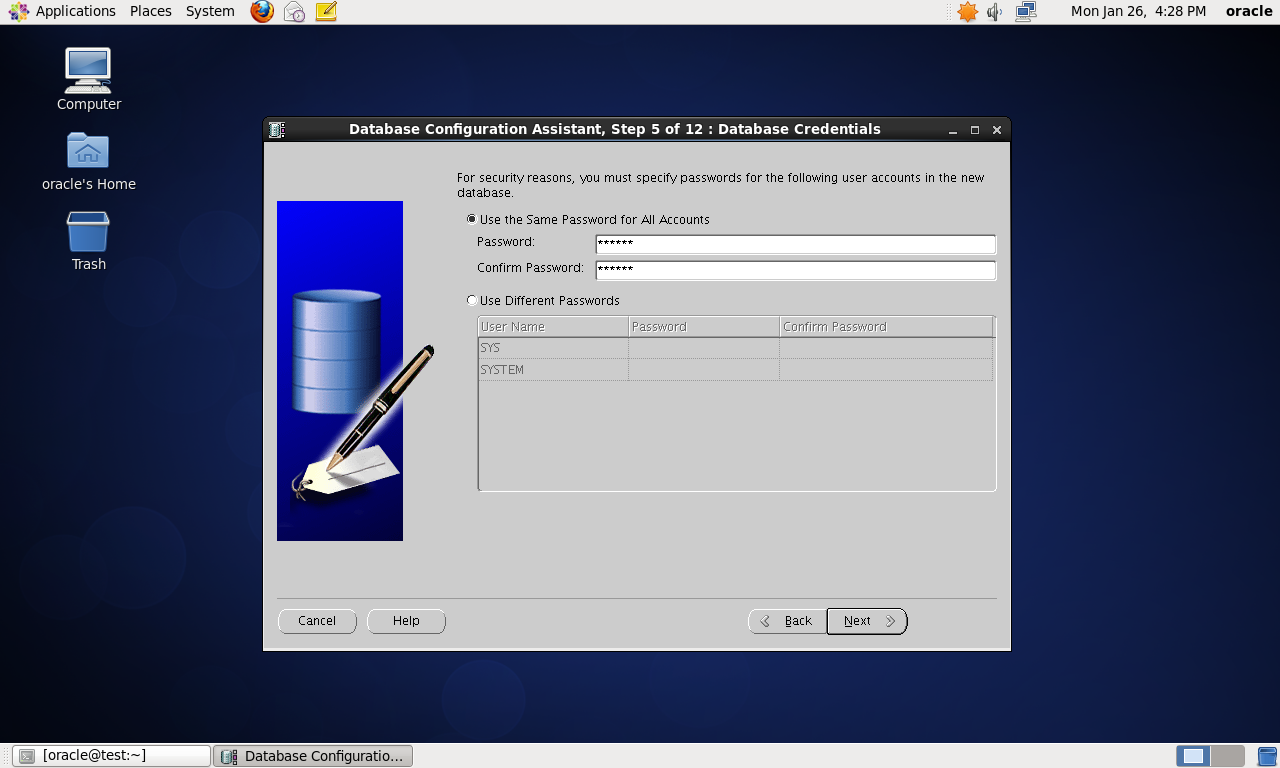
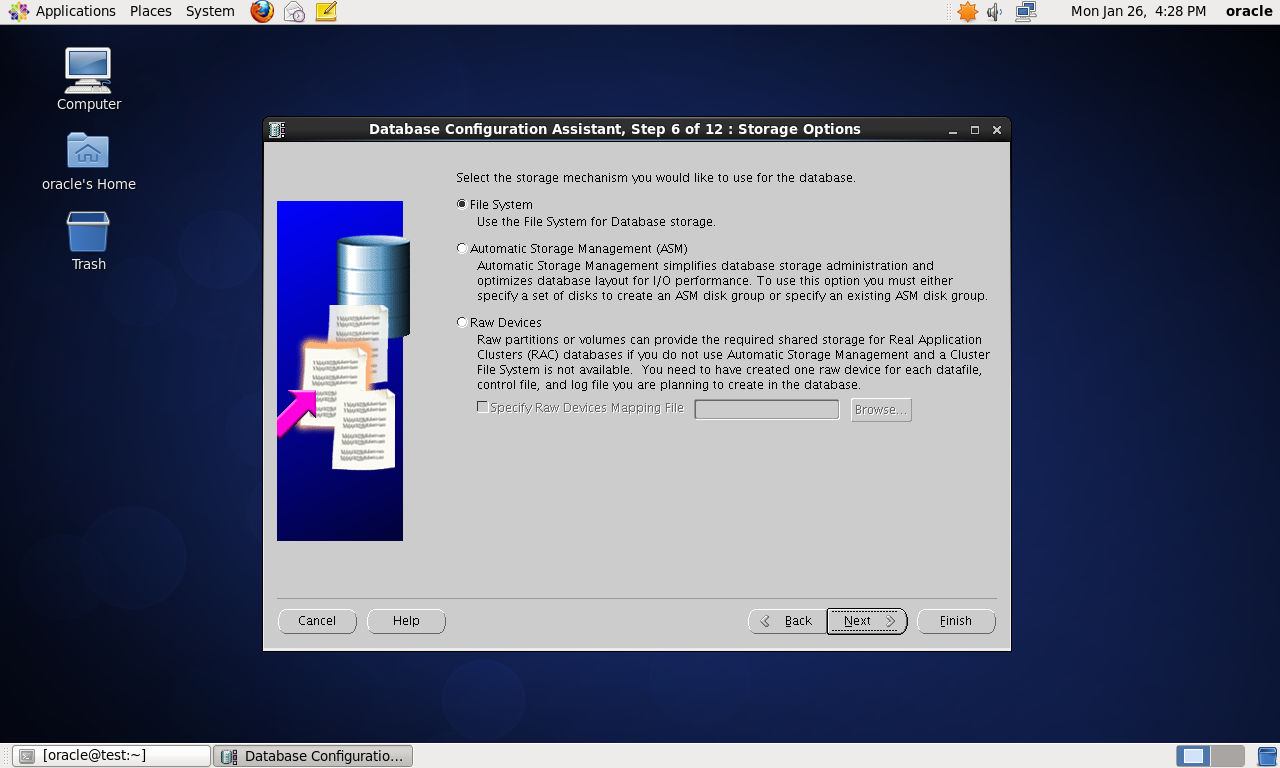
# 注意选择下数据库的安装目录

# 关闭还原功能
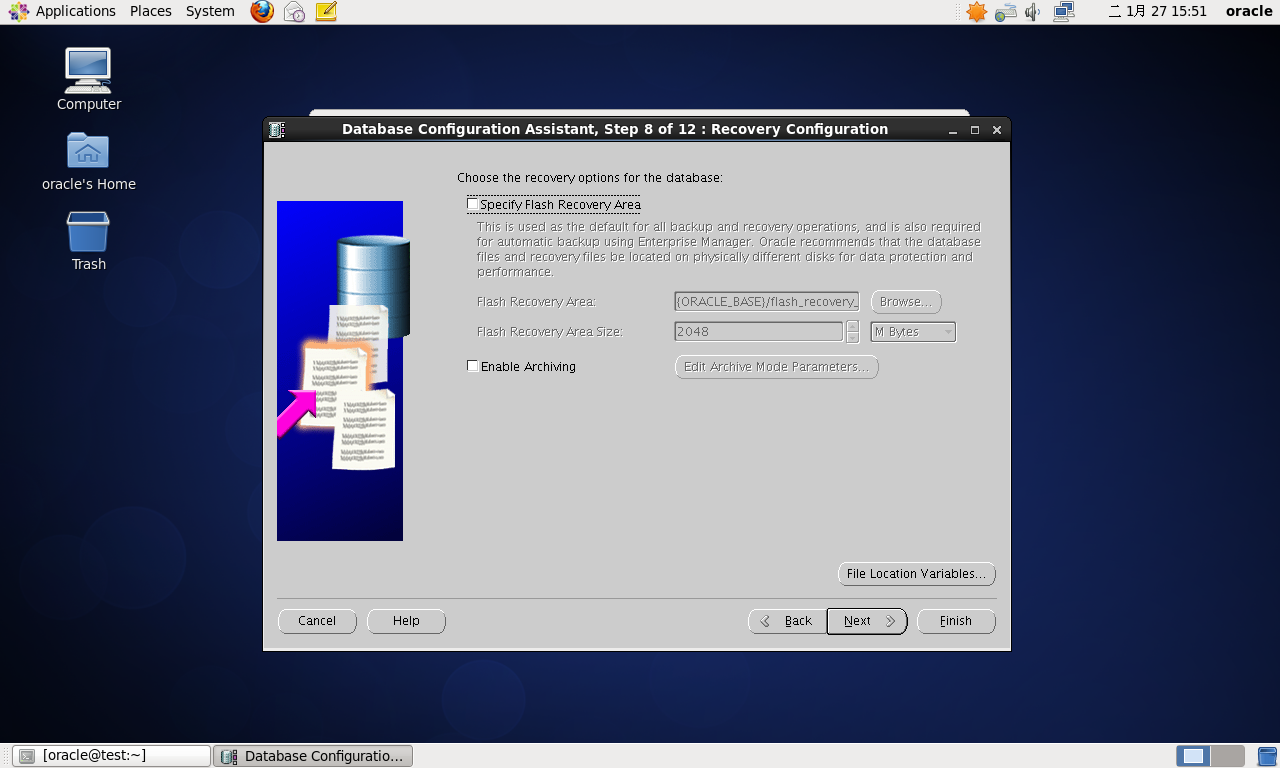
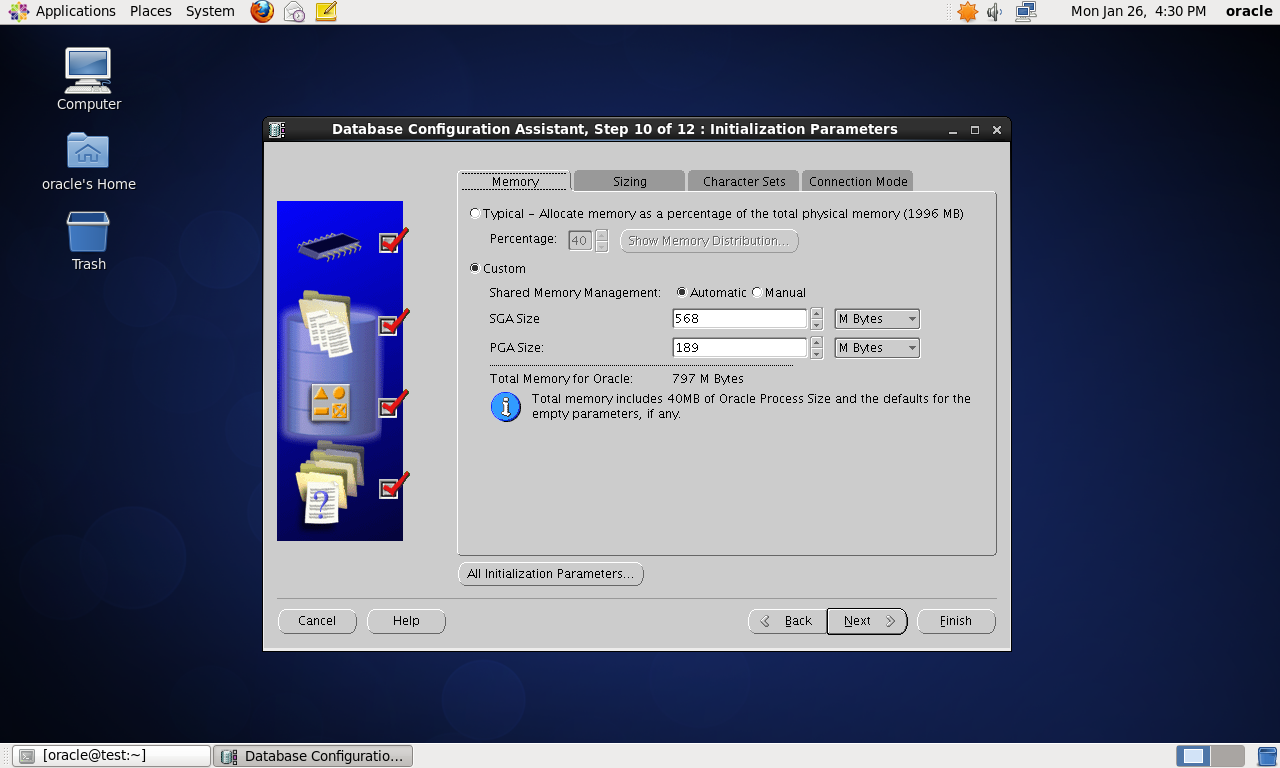
# 注意下下面两张图 这两张图需要根据实际情况调整.建议百度下,或者查找相关资料来设置详细数值
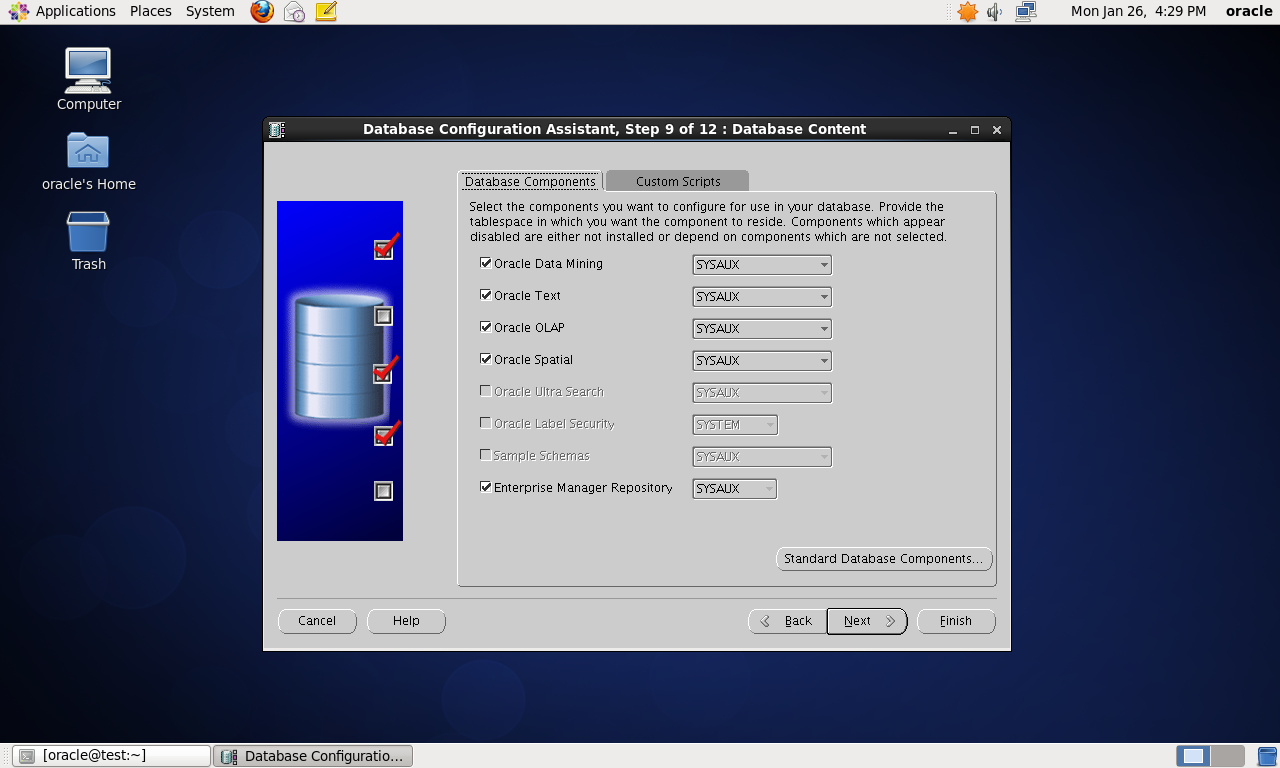
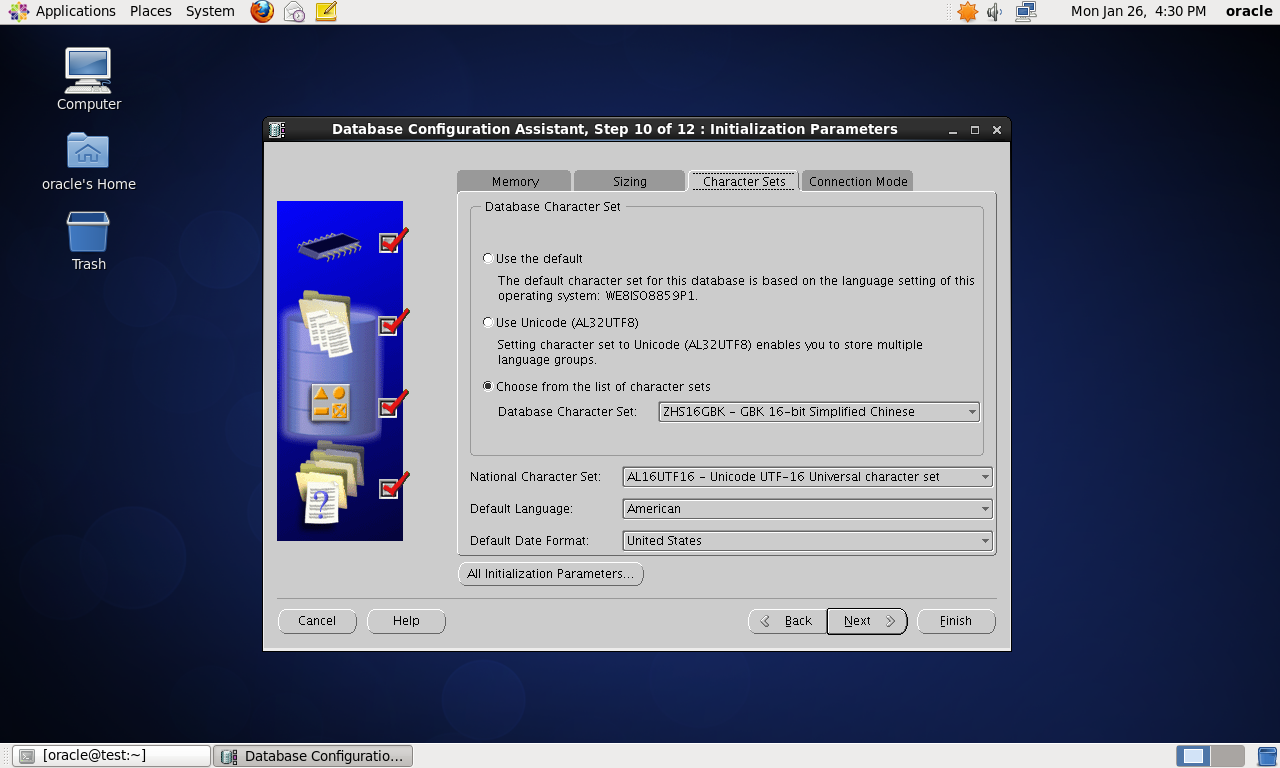
# 设置字符集选项
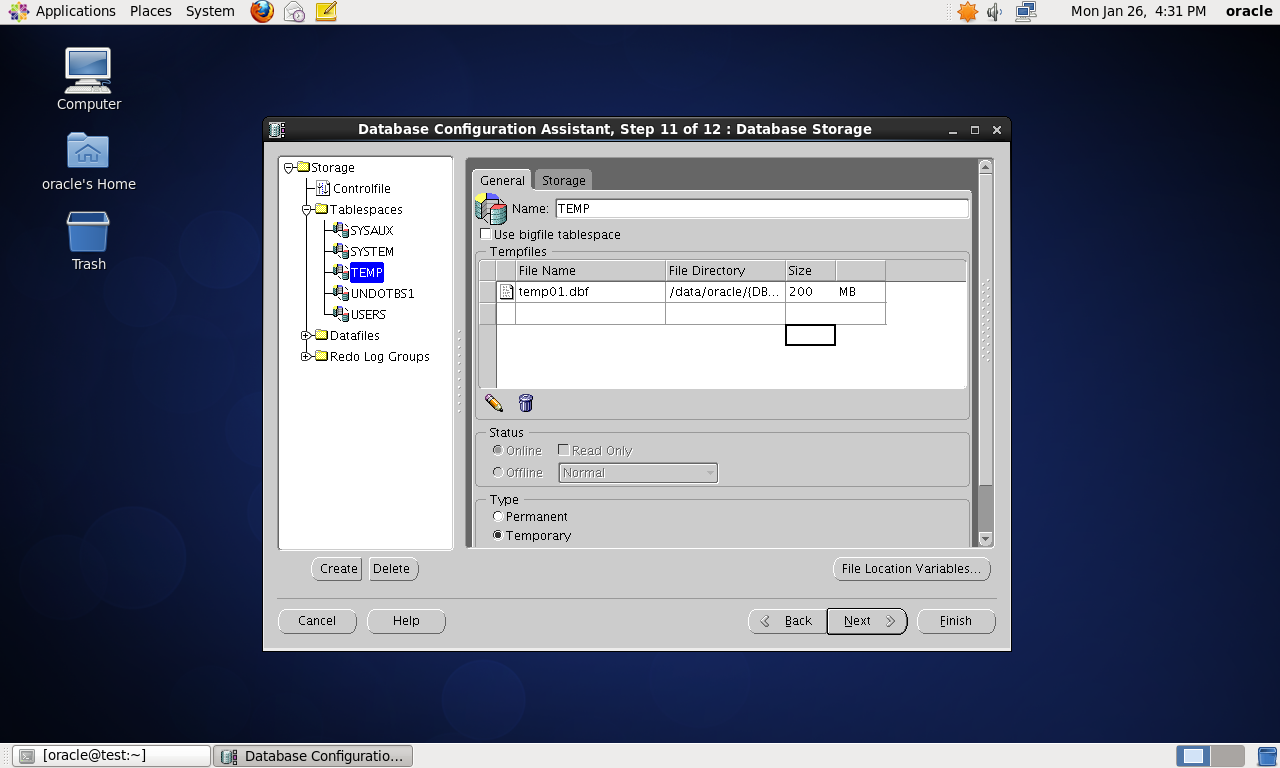
# 修改了下表空间大小,也可以不调整
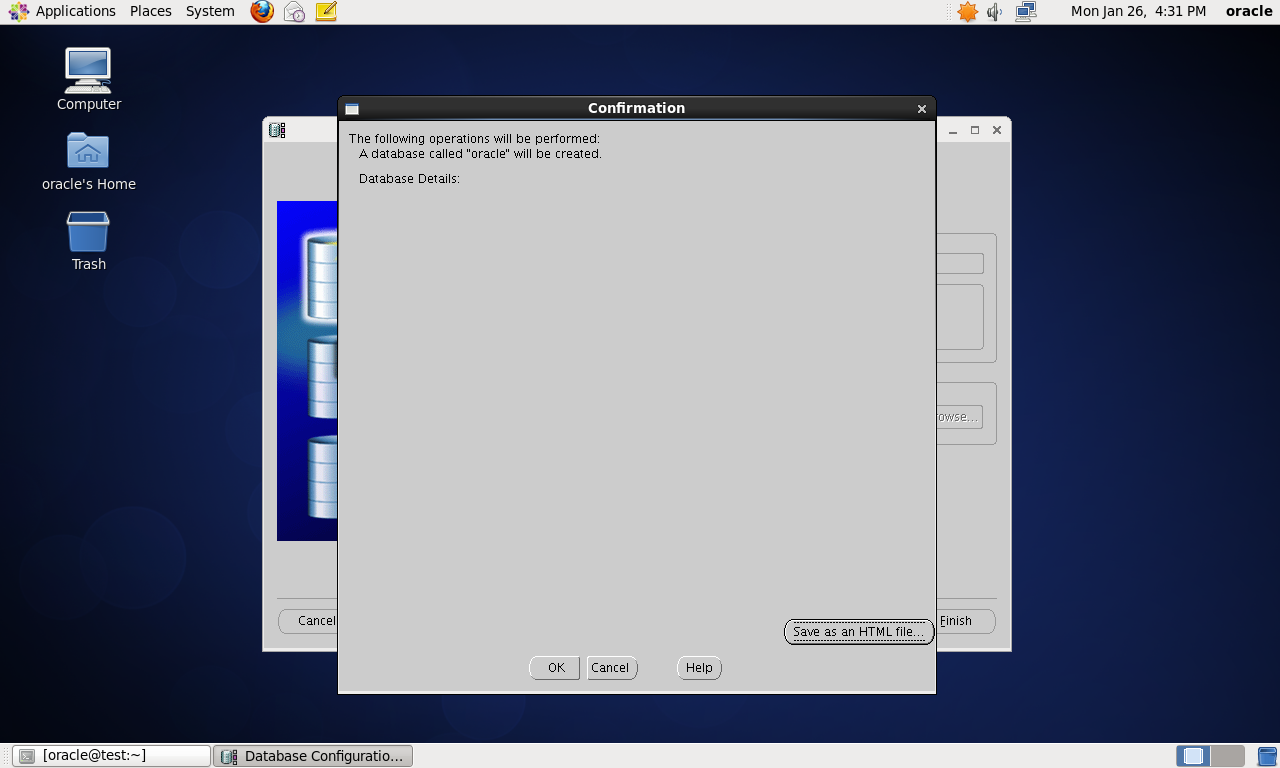
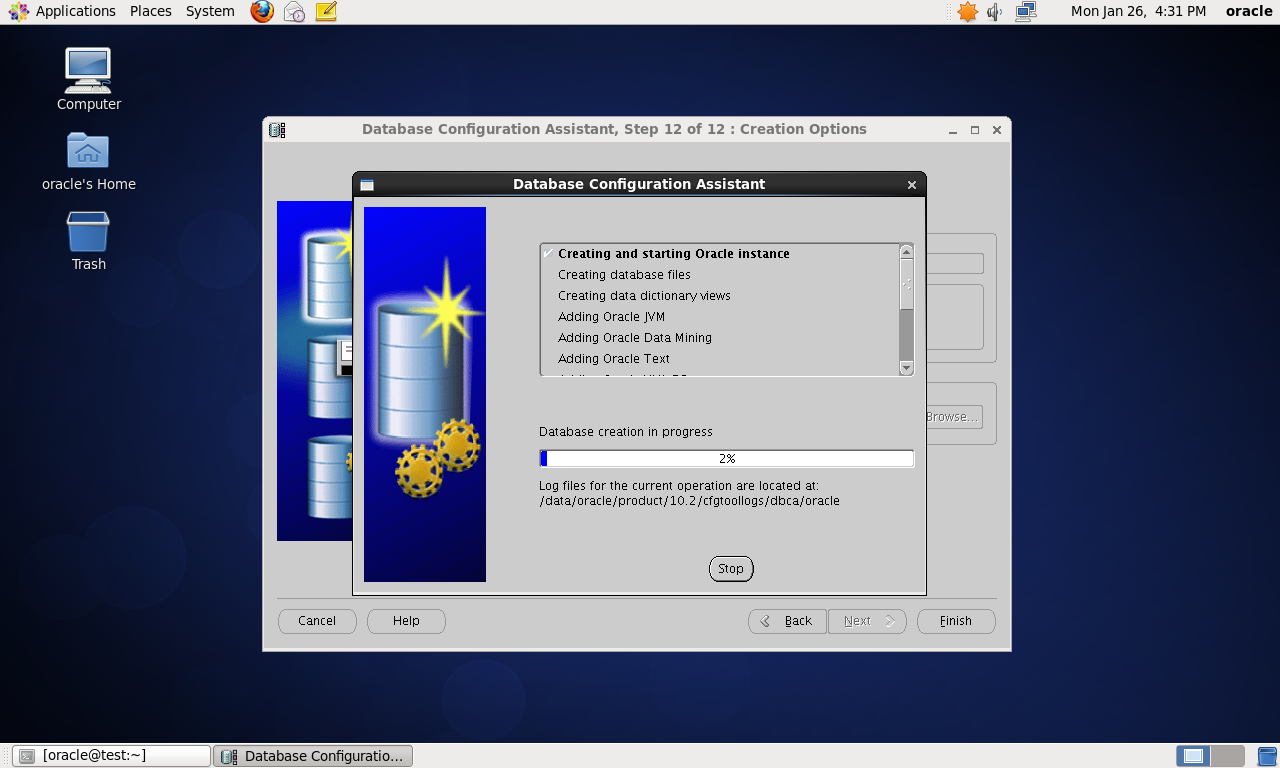
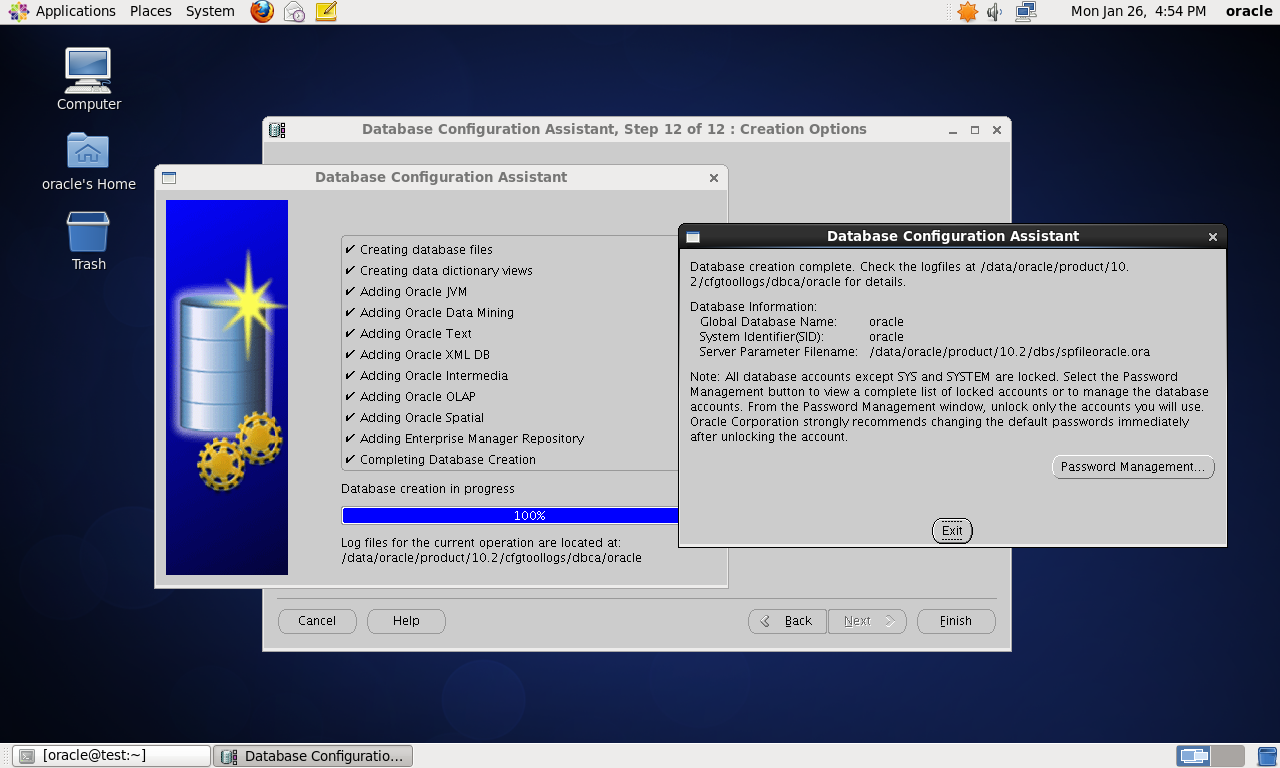
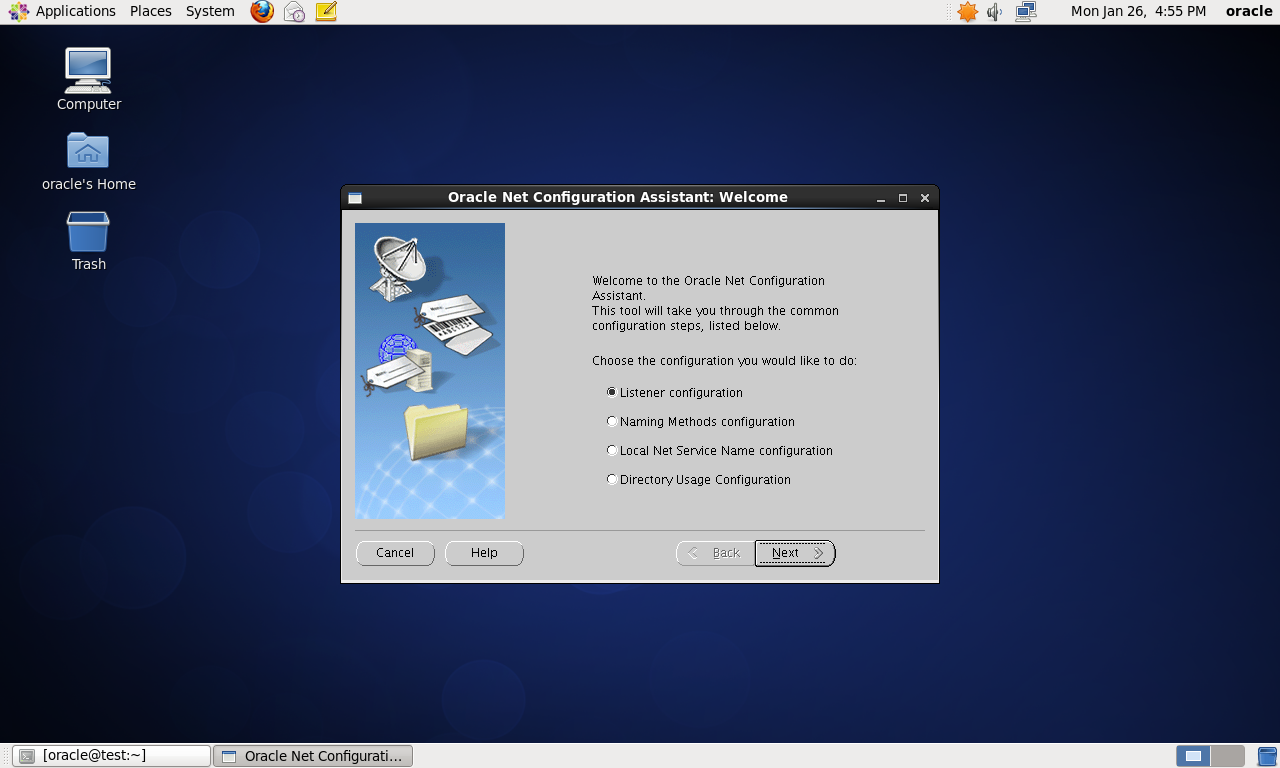
# netca 命令建立监听步骤
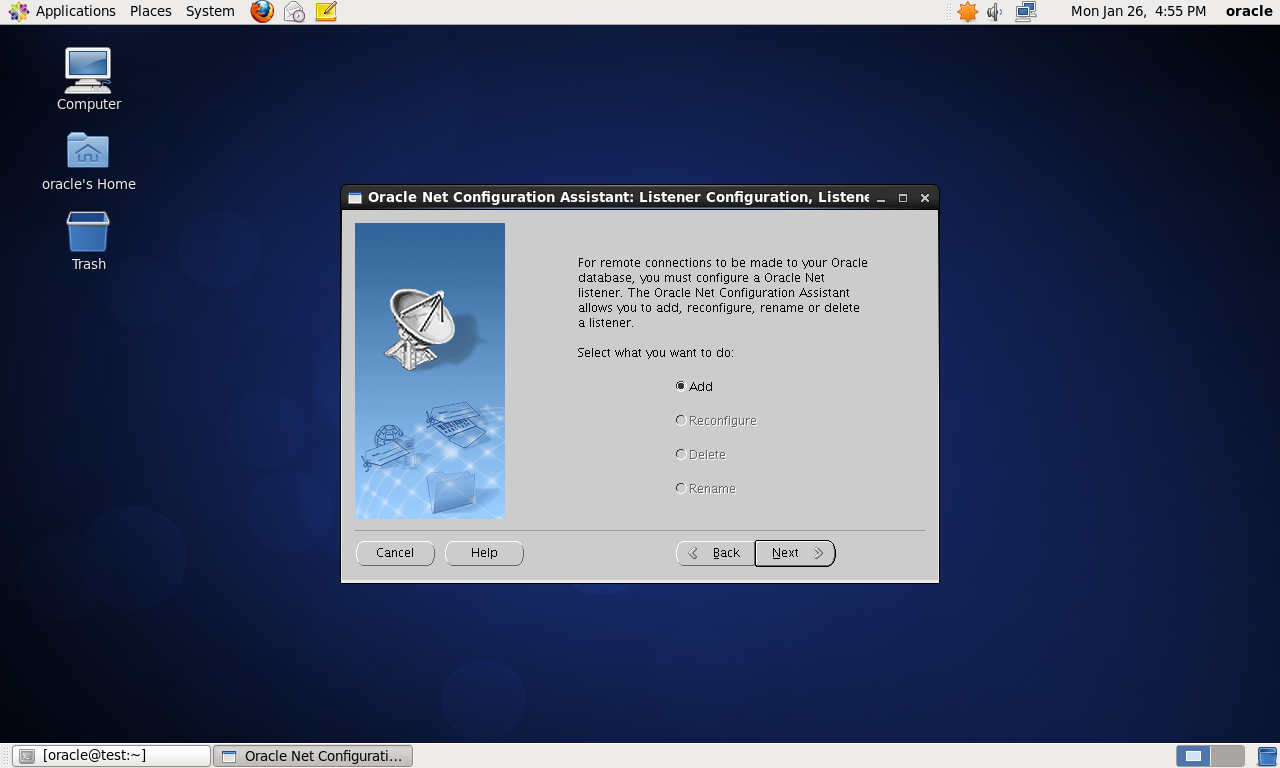
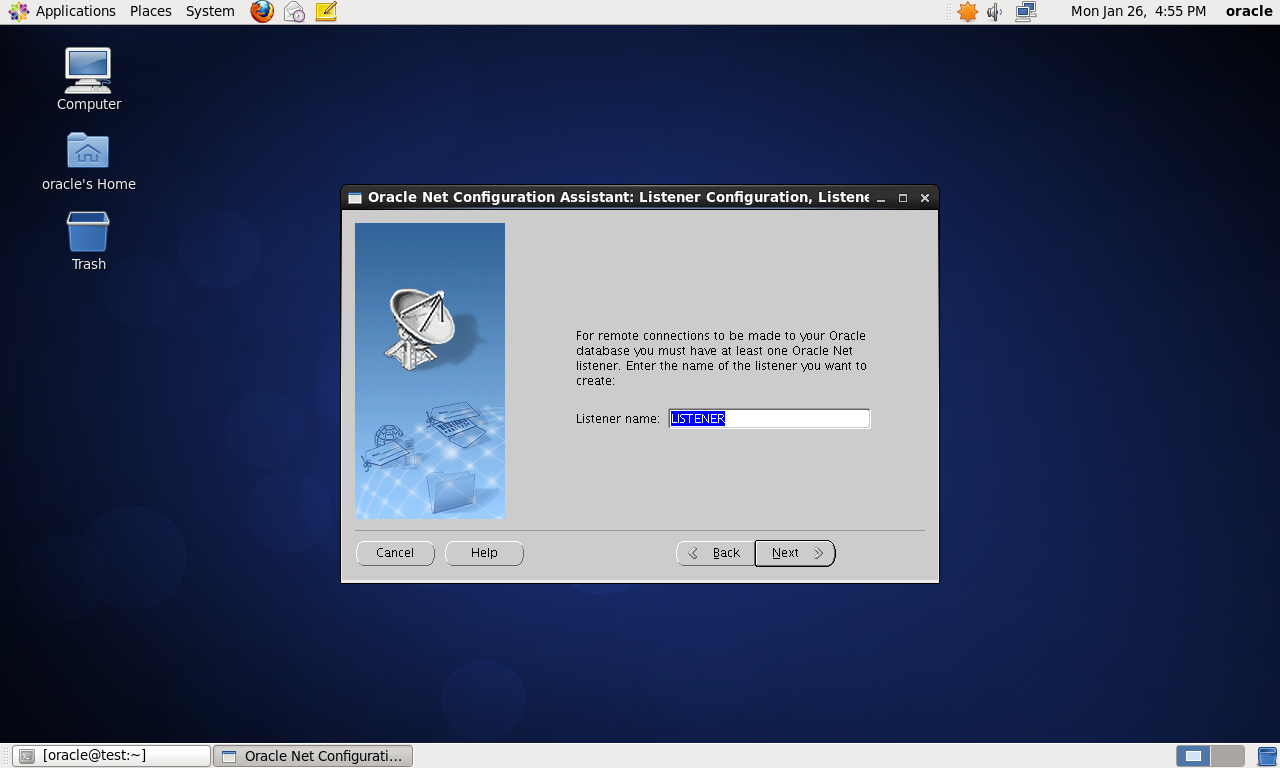
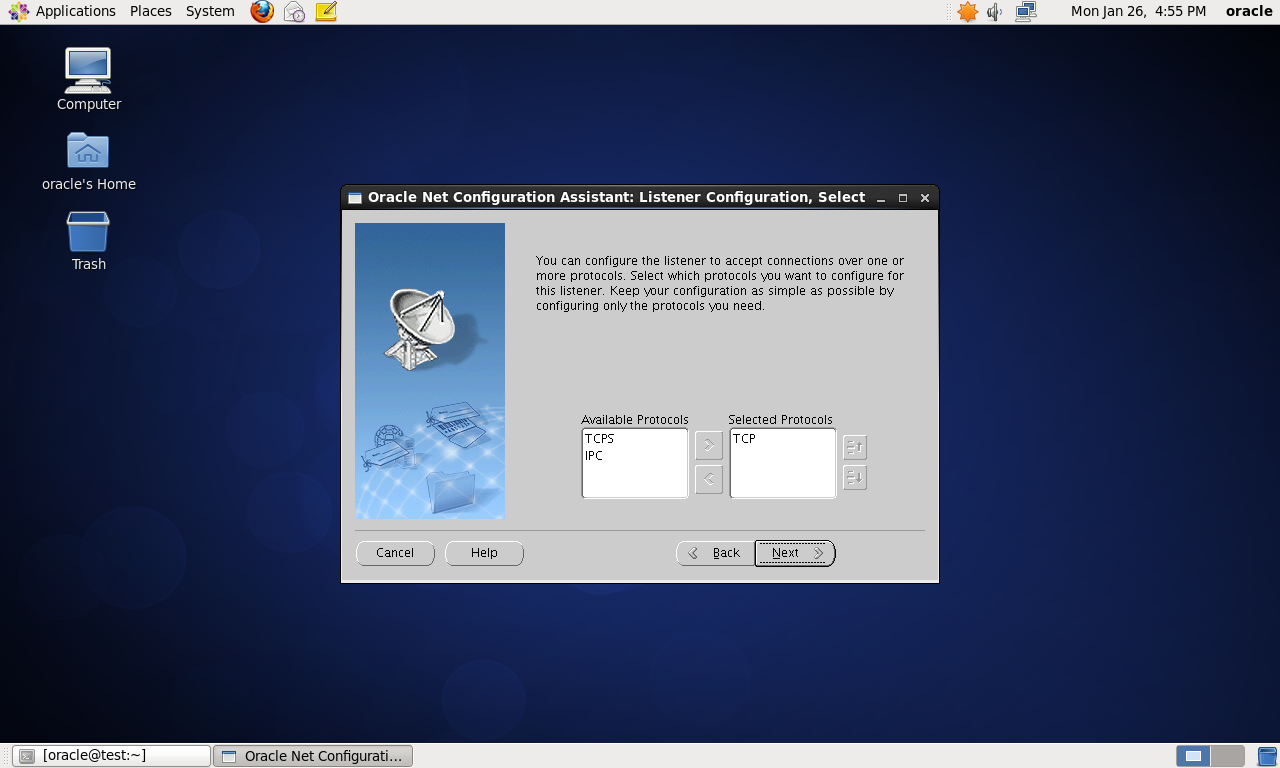
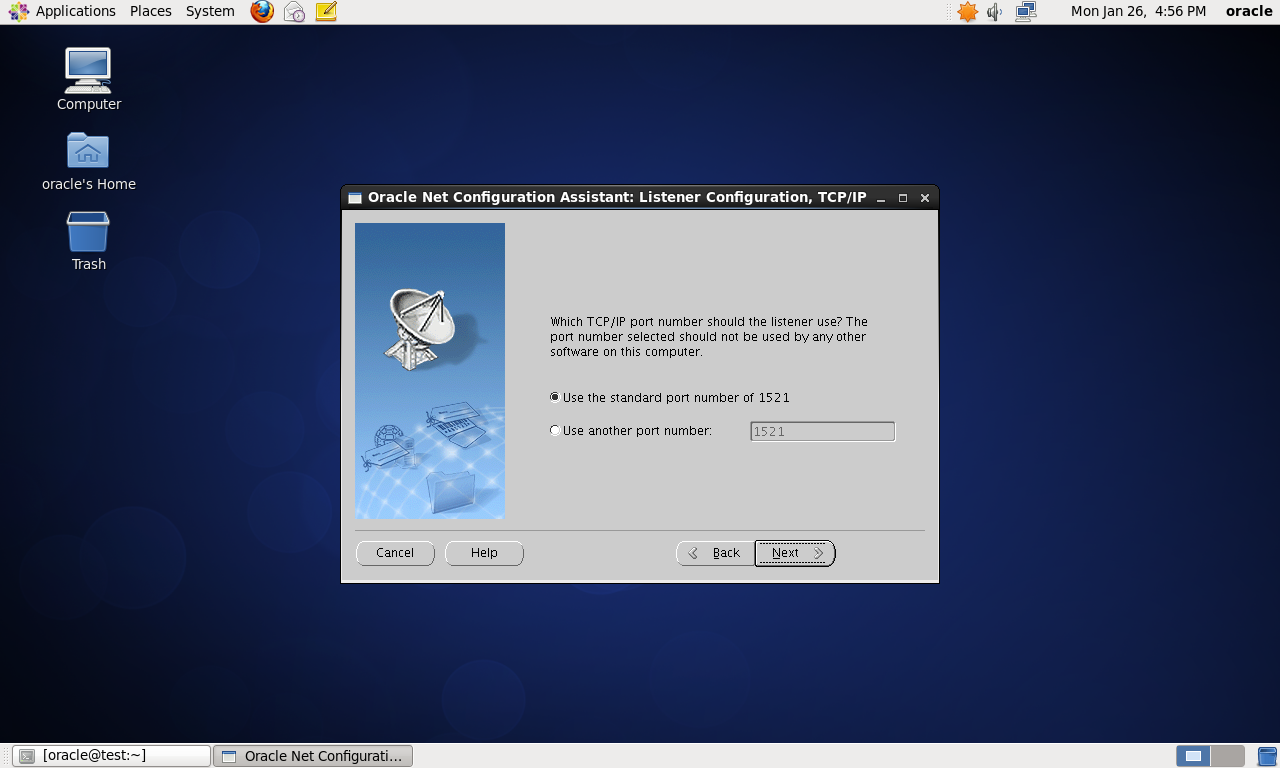

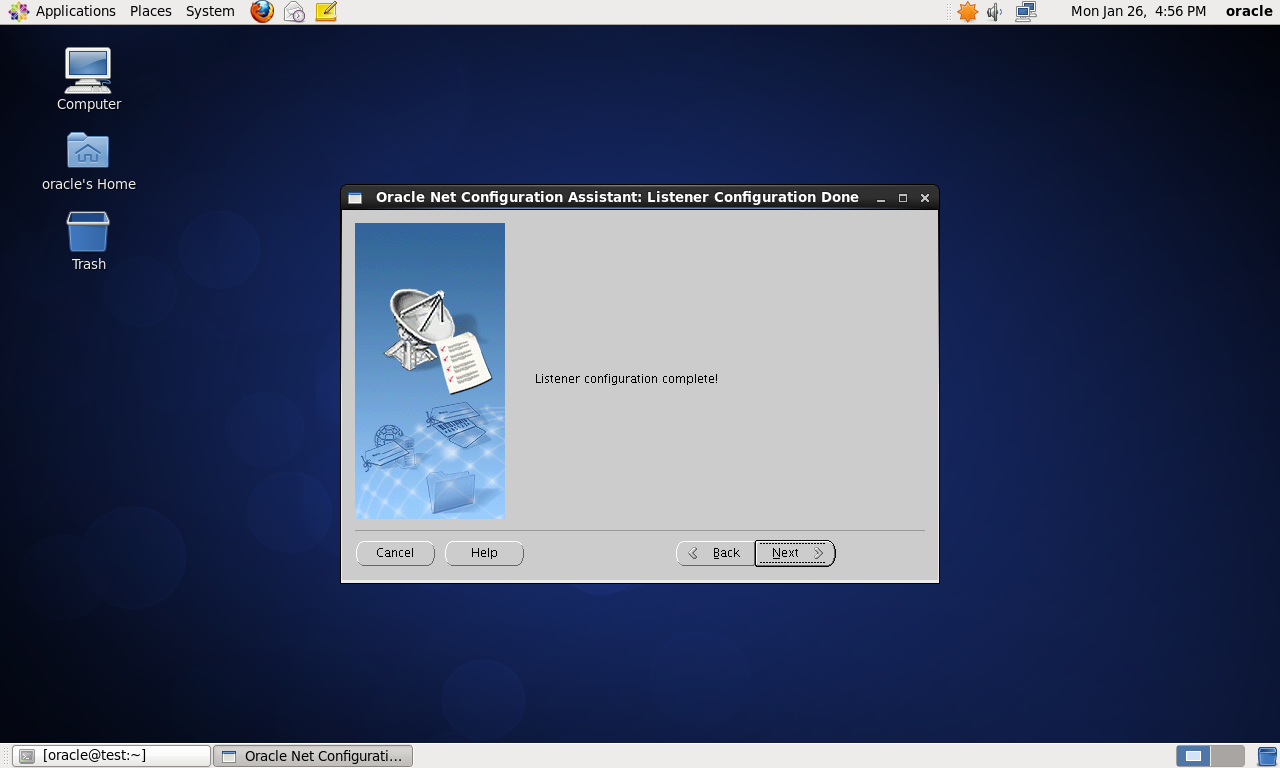
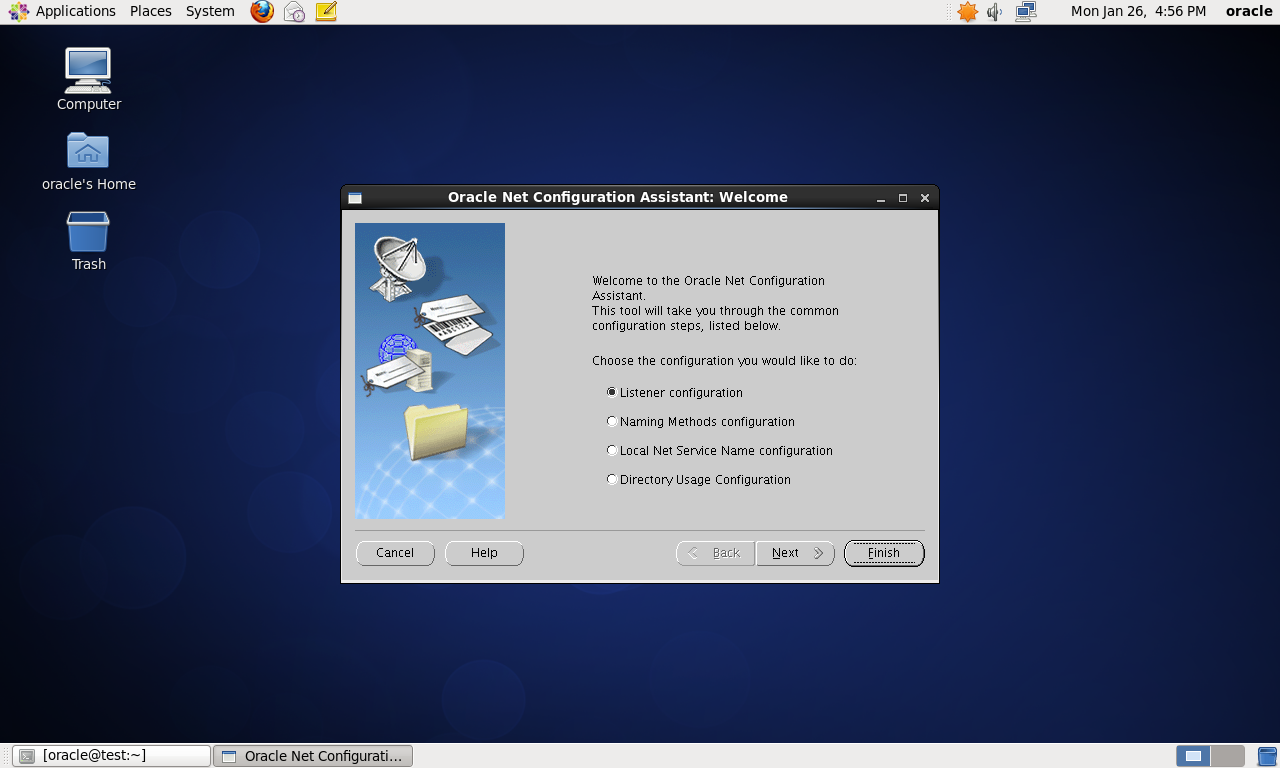
# netmgr 命令配置监听步骤
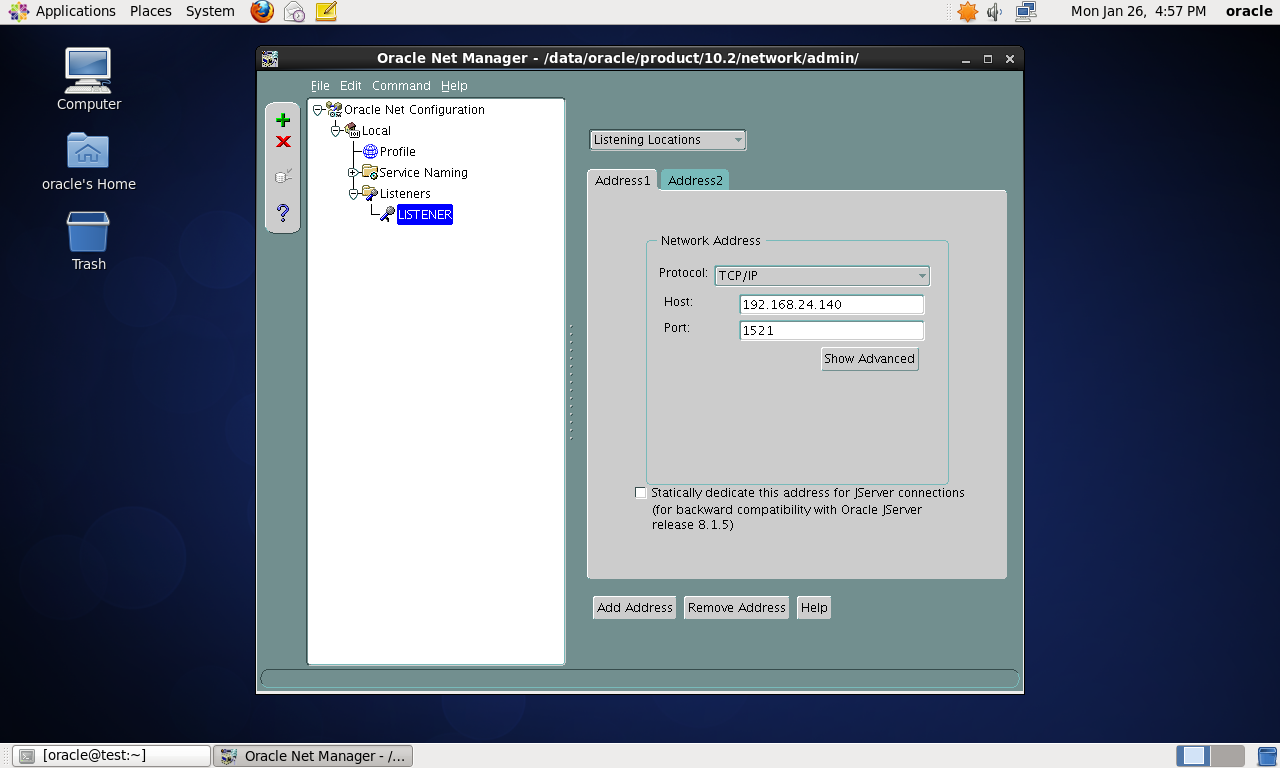
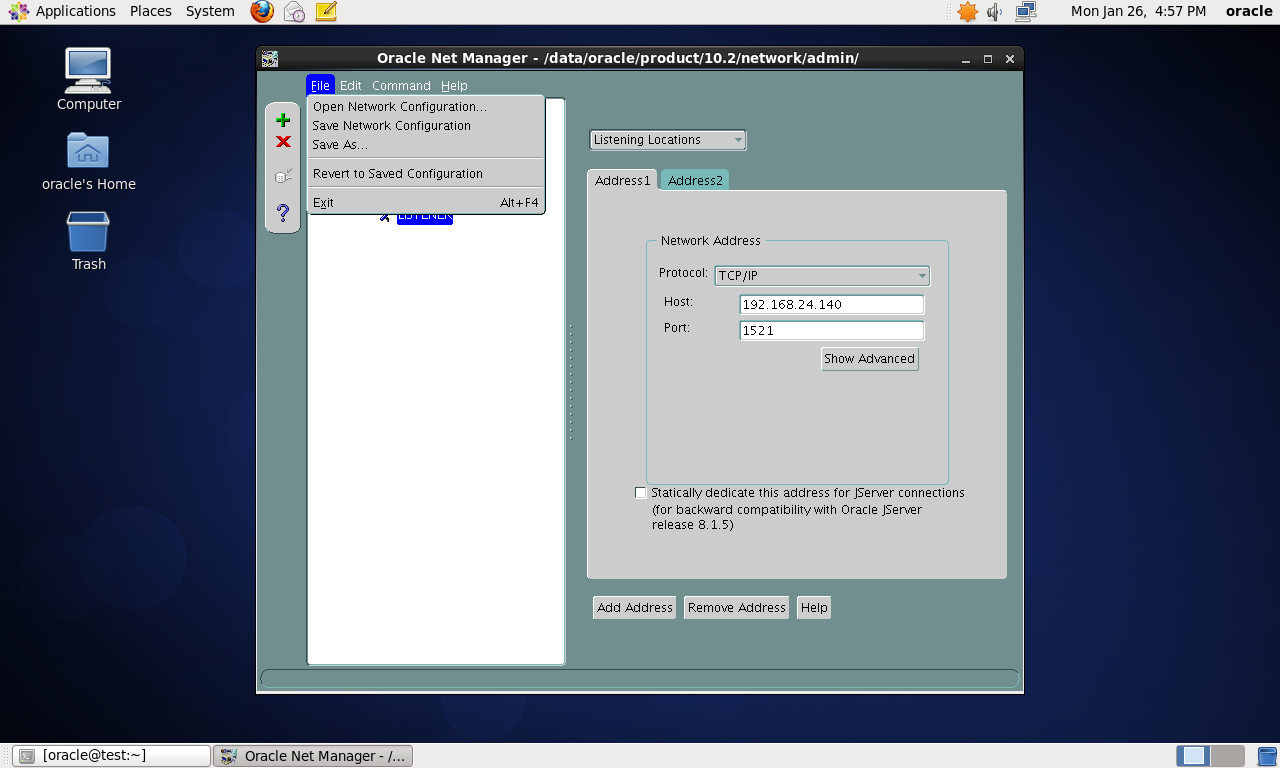
# 导入scott用户
conn scott/tiger as sysdba;
@/data/oracle/product/10.2/rdbms/admin/utlsampl.sql
$ vi /data/oracle/product/10.2/bin/dbstart
第78行修改为
ORACLE_HOME_LISTNER=$ORACLE_HOME/
# 添加开机启动
# Add Oracle Opt
su - oracle -c 'lsnrctl start'
su - oracle -c 'dbstart'
# 恢复修改的系统标识
# 启动关闭 Oracle 的命令
sqlplus /nolog
conn / as sysdba
startup
shutdown
# 最终,使用客户端登录Oracle 成功 ☺
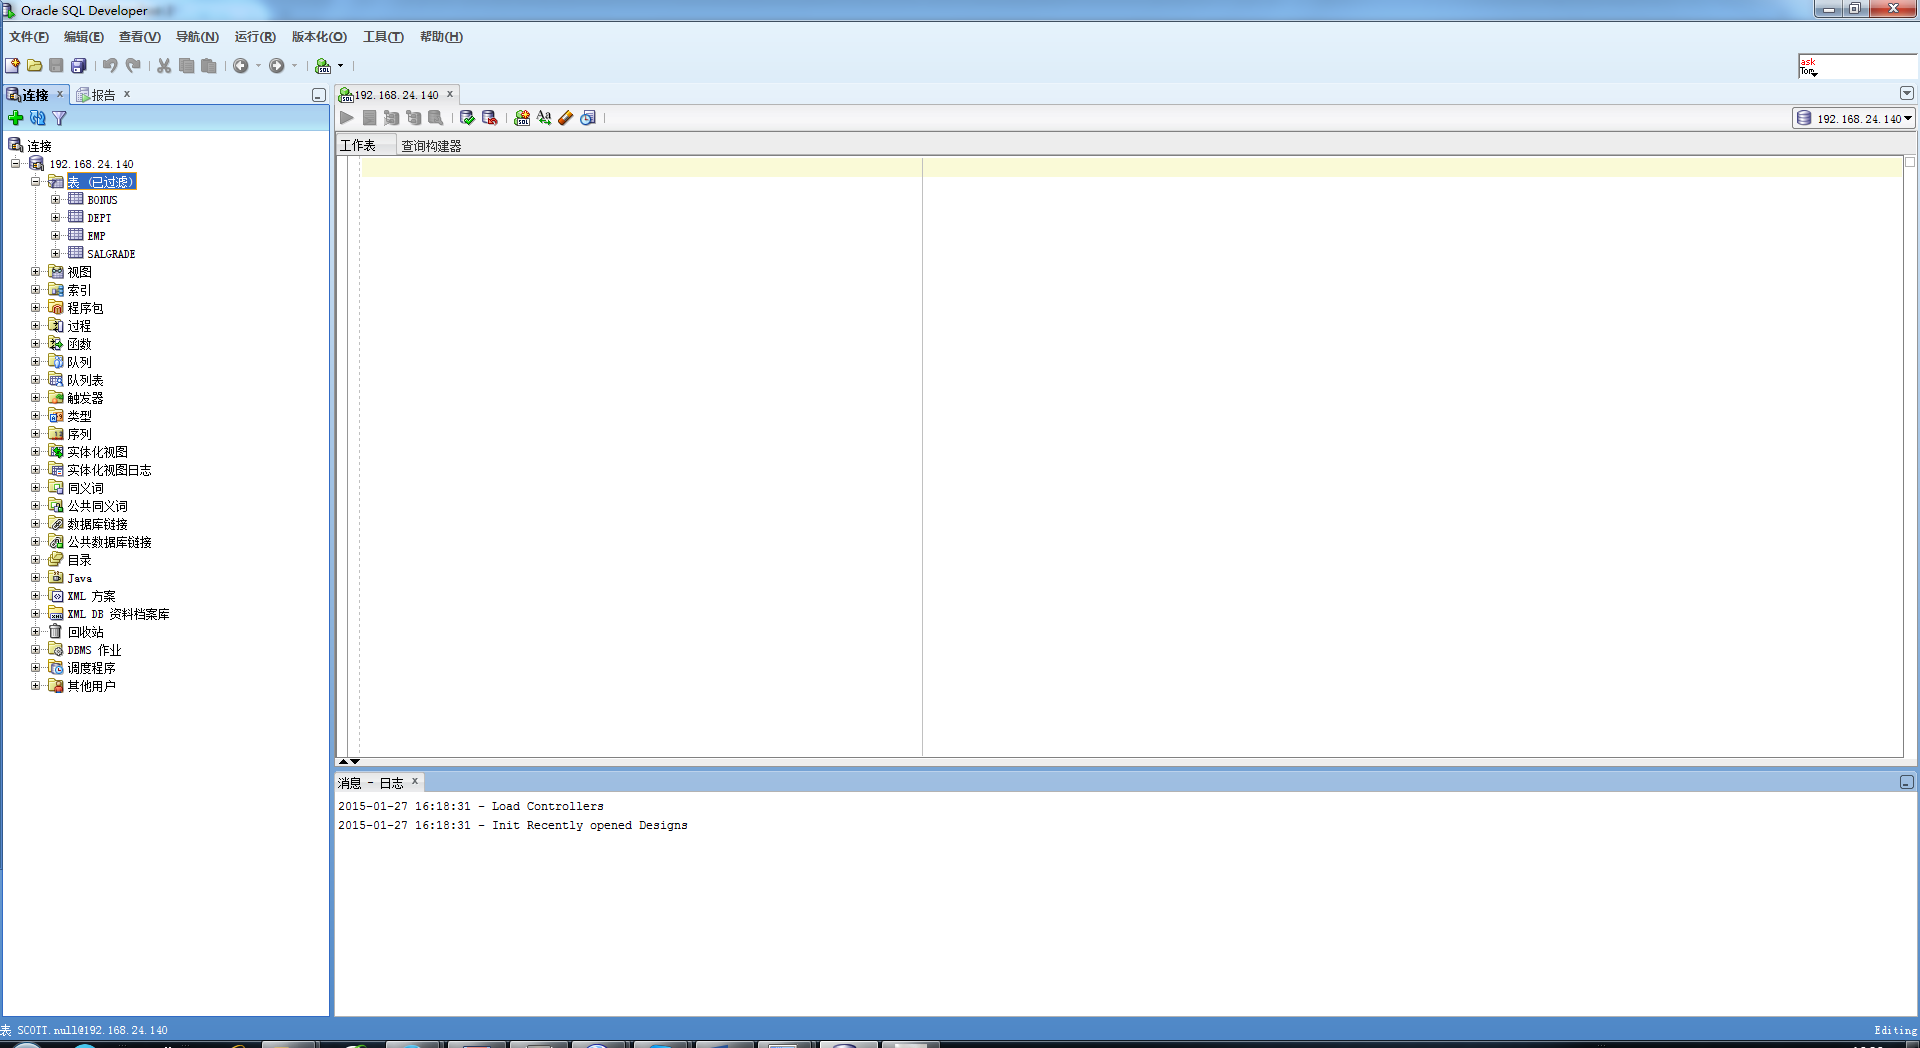
#### 备注 出现错误的解决方式 ####
# ORA-01078: failure in processing system parameters
# LRM-00109: could not open parameter file ‘/data/oracle/product/10.2/dbs/initbilling.ora’
cp /data/oracle/admin/test/pfile/init.ora.9252014162317 /data/oracle/product/10.2/dbs/initbilling.ora
# ORA-12505
/data/oracle/product/10.2/network/admin/listener.ora
(SID_DESC =
(GLOBAL_DBNAME = test)
(ORACLE_HOME = /data/oracle/product/10.2)
(SID_NAME = test)
)
- 本文固定链接: http://www.sa-log.com/234.html
- 转载请注明: 王, 帅 于 我的系统记录 发表